The Fresh Loaf

A Community of Amateur Bakers and Artisan Bread Enthusiasts.

WatertownNewbie's blog

WatertownNewbie's picture
WatertownNewbie

A few months after Alan (aka alfanso) posted his bake of the Scott McGee ciabatta, I finally got around to baking the bread.  The result was pleasing, with one loaf consumed at home by my wife and me and the other given away to a neighbor.

I used my KitchenAid Artisan mixer and followed Alan's directions for speed levels, but I have never done French Folds and decided not to make this my first venture into that technique.  Instead, I worked the shaggy dough in the mixing bowl by some hearty hand pulling (think of what Trevor J. Wilson does in his mixing bowls) and observed some nice gluten development already.  The bassinage was interesting.  I opted to combine the water, olive oil, and salt in a Pyrex measuring cup for easy pouring.  The shaggy dough was a little stiff, but when I added a bit of the mixture and the dough loosened, the speed of the mixer let me know to wait until that dose was absorbed.  I repeated that a few times, gradually incorporating the bassinage elements until upping the mixer speed to 6 and then 8.

The dough did not climb the hook very much, and I found that the pauses for scraping down the sides of the bowl seemed to give the dough a chance to recover.  By the end, with the dough slapping around on the 8 speed, the smooth and shiny texture I had been hoping to see was present.  As Alan predicted, the mixer generates some heat in the dough, and my final dough temperature was 83dF.  My water temperatures were 71dF for the initial mix and 65dF for the bassinage, but clearly these could be lowered.  On the other hand, aside from a slightly faster bulk fermentation and final proofing, I do not think that the 83dF made much of a difference from what something like 77dF might have produced.

This is an amazingly billowy dough, but with a lot of strength.  I chose to shape the dough by first dividing the mass into two portions and then flattening each portion into a rectangle and doing a letter fold on each before placing them onto a couche for proofing.  They puffed a bit, but when placed into the oven, they ballooned.

I use lava stones in pie pans for steaming, but I also spray ciabatta before it goes into the oven.  After thirteen minutes I opened the oven door and allowed the steam to escape.  Thereafter I kept an eye on the loaves, which started to darken.  A check of the internal temperatures showed 209dF after another dozen minutes, and ultimately I removed the loaves after a total of thirty-two minutes of baking.

Here are the loaves on the cooling rack.

The crumb has a very pillow-like softness with an assortment of large, small, and medium holes.  The crust is nice and chewy (for me an important characteristic of ciabatta).

These loaves became a deeper darker brown than any other ciabatta that I have baked, and for me that was a big plus.  It is likely that I could leave the loaves in longer the next time and see how dark they can be.  There was no burning on the bottom.

This is a fun recipe, and the dough has a feel of its own.  Thanks to Alan for posting his bake and giving me another option for ciabatta.

Happy Baking.

Ted

WatertownNewbie's picture
WatertownNewbie

My wife and I recently finished a vacation with two days in San Francisco.  We decided that visiting bakeries was a good way to navigate the city and see some new neighborhoods (at least new to us).

First stop was Acme Bread in the Ferry Building.  A wide selection, and I opted for a sour baguette.  Definitely a nice sour flavor.  Excellent crumb and crust.  This was good to munch on, and was the leader in finding a sourdough with the classic taste.  (We decided not to get anything from Boudin, so I cannot comment on their bread, but they do seem to be everywhere.)

Next was the Mill (aka Josey Baker Bread).  The photos posted on TFL showing a strong dark bake are representative.  Again a fine selection available, and I chose another baguette.  Really great flavor in the crust.  The crumb was good, but not as distinctive as the crust.  The atmosphere at the place was great too, with classic rock being played (from vinyl LPs no less).

Lastly for the first day was Arizmendi.  My wife got a slice of pizza, and I purchased a standard batard.  After two baguettes (and other food) already that day, I had no room for more bread, but I did take the loaf with me on the plane ride home.  A nice crust (great blisters) and crumb.  Certainly a solid bake, and no complaints.

The next day we began at the original Tartine.  Knowing that we would be going next to the Manufactory where the bread is now baked, I chose a Pain au Chocolat, and my wife had a croquette.  Both were superb.  Hard to think that the little hole in the wall was where Chad Robertson set up shop and achieved his following.  We then walked to the Manufactory, which is spacious and has a different vibe.  For about an hour I stood and watched the team making baguettes.  First the giant dough mixers, then the dumping of the dough, the pre-shaping, and then the final shaping.  One person in particular made shaping a baguette look like child's play.  Then we went into the main restaurant area, where I had a bowl of soup and some bread (a portion of a Basic Country loaf).  Superb bread.  Great crust and crumb.  Easy to see why Tartine bread has become so popular.  We got a loaf of the Country Bread to bring home.

If you are in San Francisco with some time to explore, it is simple to traverse the city via the excellent public transit system.  We got a day pass and used our smart phones to find what bus we needed to get from one place to the next.  (Thanks also to those of you who have posted suggestions of bakeries to visit in San Francisco.)

WatertownNewbie's picture
WatertownNewbie

Inspired by the Community Bake a month or so ago, I decided to take a stab at Hamelman's Five-Grain Levain recipe.  This turned out to be a really delicious bread, which my wife likes a lot too, and there will be more loaves baked in the future.

For the Liquid Levain, I used my trusty starter (50 g), bread flour (250 g), and water (313 g).  I could not find any cracked rye easily available, so I ordered some rye chops online.  (Question for those who baked this loaf: Where can I get cracked rye?)  The Soaker then became rye chops (92 g), flaxseeds (92 g), sunflower seeds (77 g), oats (77 g), salt (6 g), and water (406 g).  Even though Hamelman states in his book that boiling water is not needed if rye chops are used instead of cracked rye, I opted to boil.  The oats were a generic kind that my wife microwaves for breakfast each day (i.e., nothing special).

The Final Dough consisted of bread flour (500 g), whole wheat flour (250 g), most of the liquid levain (563 g), the soaker (all), some instant dry yeast (1 tsp), salt (18 g), and water (261 g).  I included the yeast because I wanted the finished bread to be available by mid-afternoon.  In addition, my kitchen was 68dF, the levain and flour were 66dF, and the soaker was 64dF.  Even with 110dF water the dough temperature turned out to be 72dF at the end of some vigorous mixing by hand.

Vigorous mixing indeed.  After five minutes, there was still some dry flour in the bottom of the 12-quart Cambro tub, and my hand was encased in a glop of various seeds and wet sticky dough.  Eventually I managed to keep flopping the dough mass around until all of the dry flour became part of the mass, at which point I began some serious pinching and twisting of the dough to get some good gluten development ensured.  I also wanted to be certain that all of the various ingredients were somewhat evenly distributed, which I suspect is much more easily accomplished with a stand mixer.  On the other hand, this is a pretty sturdy dough that would challenge the motor of my KitchenAid, and I tend to use it only for things like ciabatta.  After a few more minutes I concluded that nothing much more was going to be achieved other than wearing out my hand and arm, so I stuck my Thermapen into the dough, recorded the 72dF dough temperature, and put the lid on the tub.

I went with Hamelman's forty-five minute rest before doing a set of stretch-and-folds, but with a cool kitchen I figured that a bit more time of bulk fermentation might be needed.  After another seventy-five minutes things looked right for pre-shaping.  The dough by then had expanded nicely, and several looks at the bottom of the tub revealed a nice collection of bubbles forming in the dough.  Pre-shaping was smooth, and as can be seen, a twenty minute bench rest saw only a little flattening (definitely no pancakes -- this is a rugged dough).

Typically I make two loaves, one baked in a Dutch oven, and the other on a baking stone.  Both began at 460dF.  After twenty minutes I removed the lid on the Dutch oven, and that loaf (the boule) went for another twenty-nine minutes.  (Heeding Hamelman's admonition to bake fully because of the increased hydration, I checked the internal temperature several times and was a little surprised to see how long it took even to reach 200dF.  In the end both were around 208dF.)  For the batard on the stone, I dropped the temperature to 435dF after thirty minutes and then had to put an aluminum foil tent over the loaf at the thirty-three minute mark. The batard baked for a total of fifty minutes.  These loaves were hefty too, weighing in at 1145 g for the batard and 944 g for the boule.

We put the boule into the freezer, but ate some of the batard for dinner.  Here is a crumb shot.

Many thanks to Danny for organizing the Community Bake, without which I wouldn't have baked this bread so soon.  Thanks also to those who posted in that thread, which I read in part several times and which provided helpful information.  Next time I will likely omit the instant dry yeast, and I will incorporate cracked rye if I can locate any without too much trouble.  For someone who usually bakes bread composed of the four basics (flour, water, salt, and starter), this was an interesting experience in handling a dough with multiple add-ins and different characteristics.  The reward was the pleasure of tasting a new bread.  Albeit my participation in the Community Bake was a bit belated, I hope that someone who has not yet made this bread might find some inspiration too and realize one of the benefits of being on TFL.

WatertownNewbie's picture
WatertownNewbie

This is a simple bread to make and for rising involves only instant dry yeast (i.e., no sourdough starter).  My reasons for posting this in such detail are threefold.  First, perhaps a new baker might like to see what each step looks like.  (My bias I suppose -- photos helped me see whether I was on track when I was new to this craft.)  Second, experienced bakers who want a break from sourdough starter breads might be interested.  Third, this is a tasty bread and is very fast to make.  (For those used to long periods of waiting for sourdough stages to pass, this feels like baking in the fast lane.)

This bread uses a poolish that consists of all-purpose flour, water, and a tiny amount of instant yeast (barely an eighth of a teaspoon).
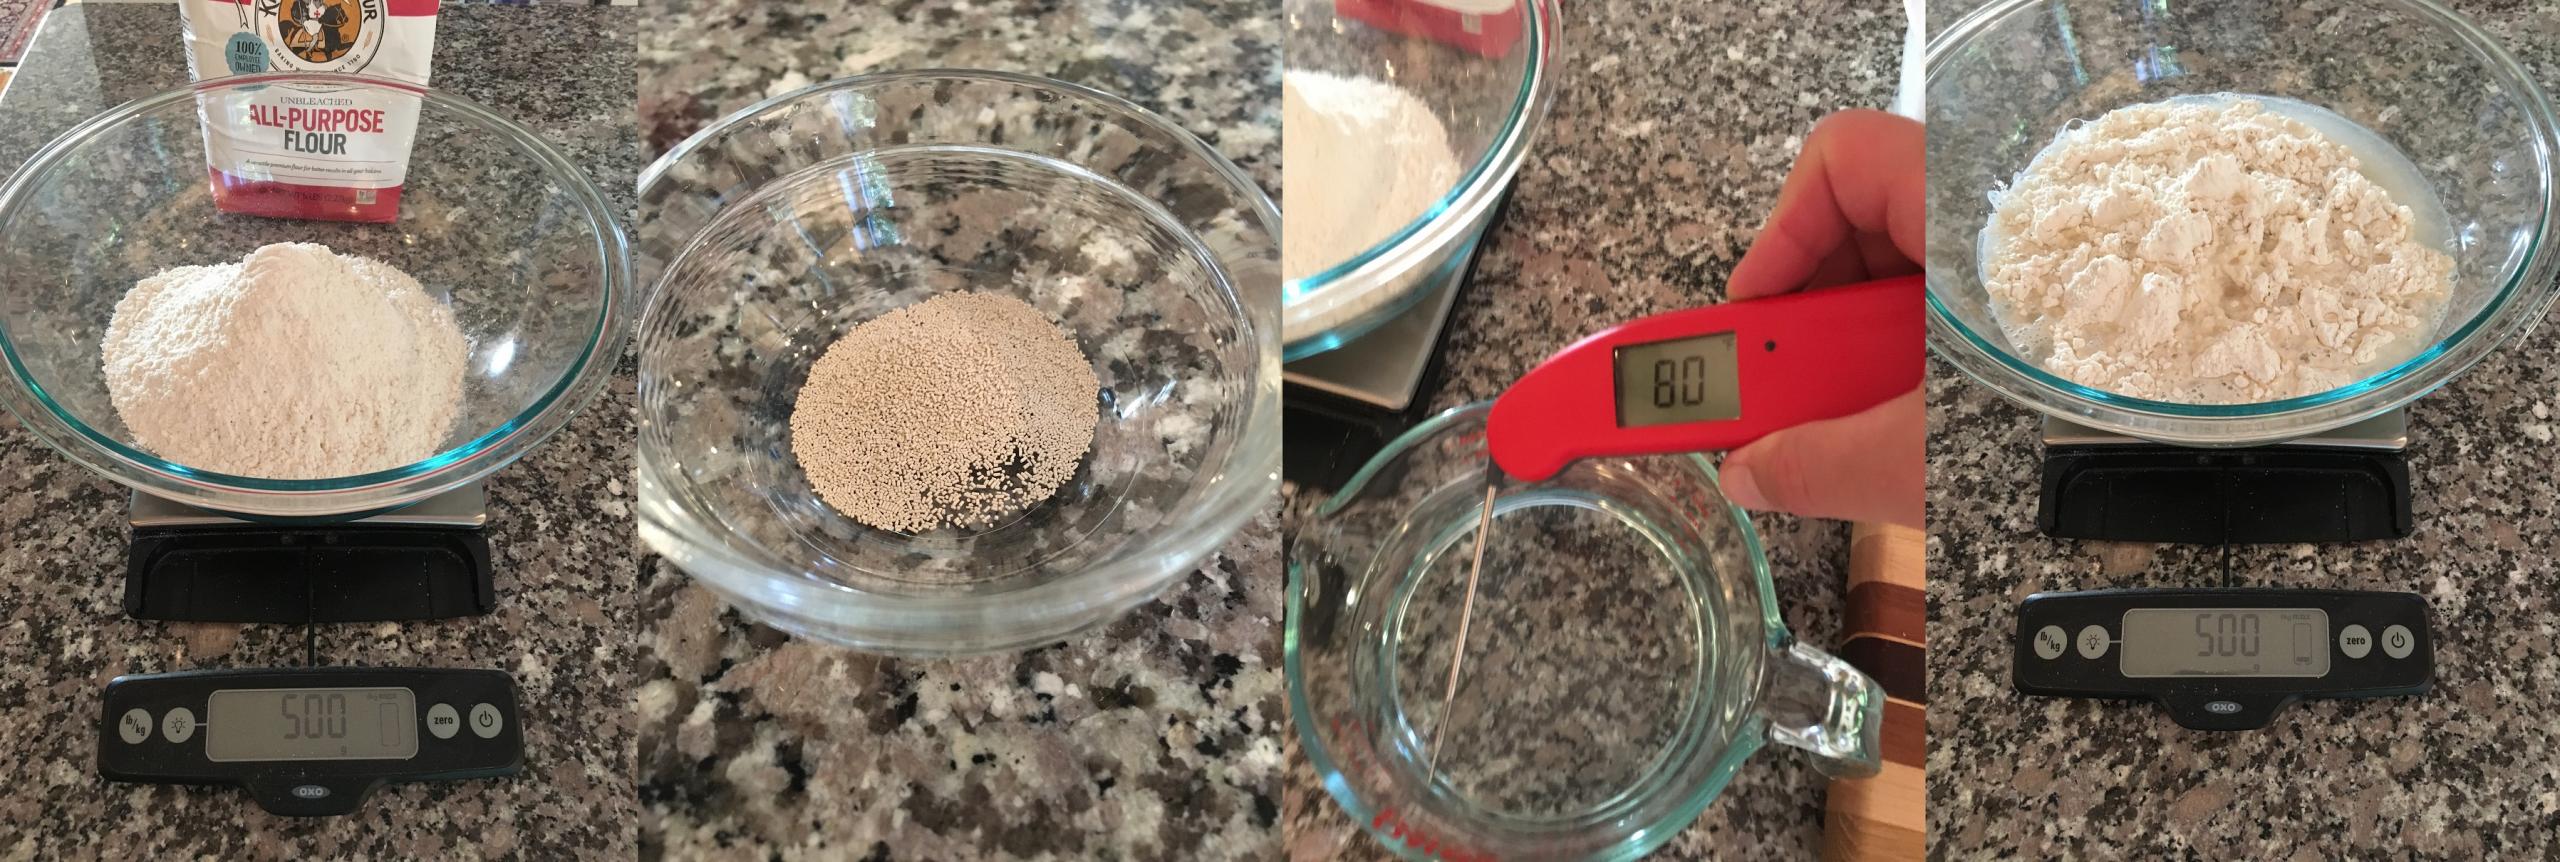
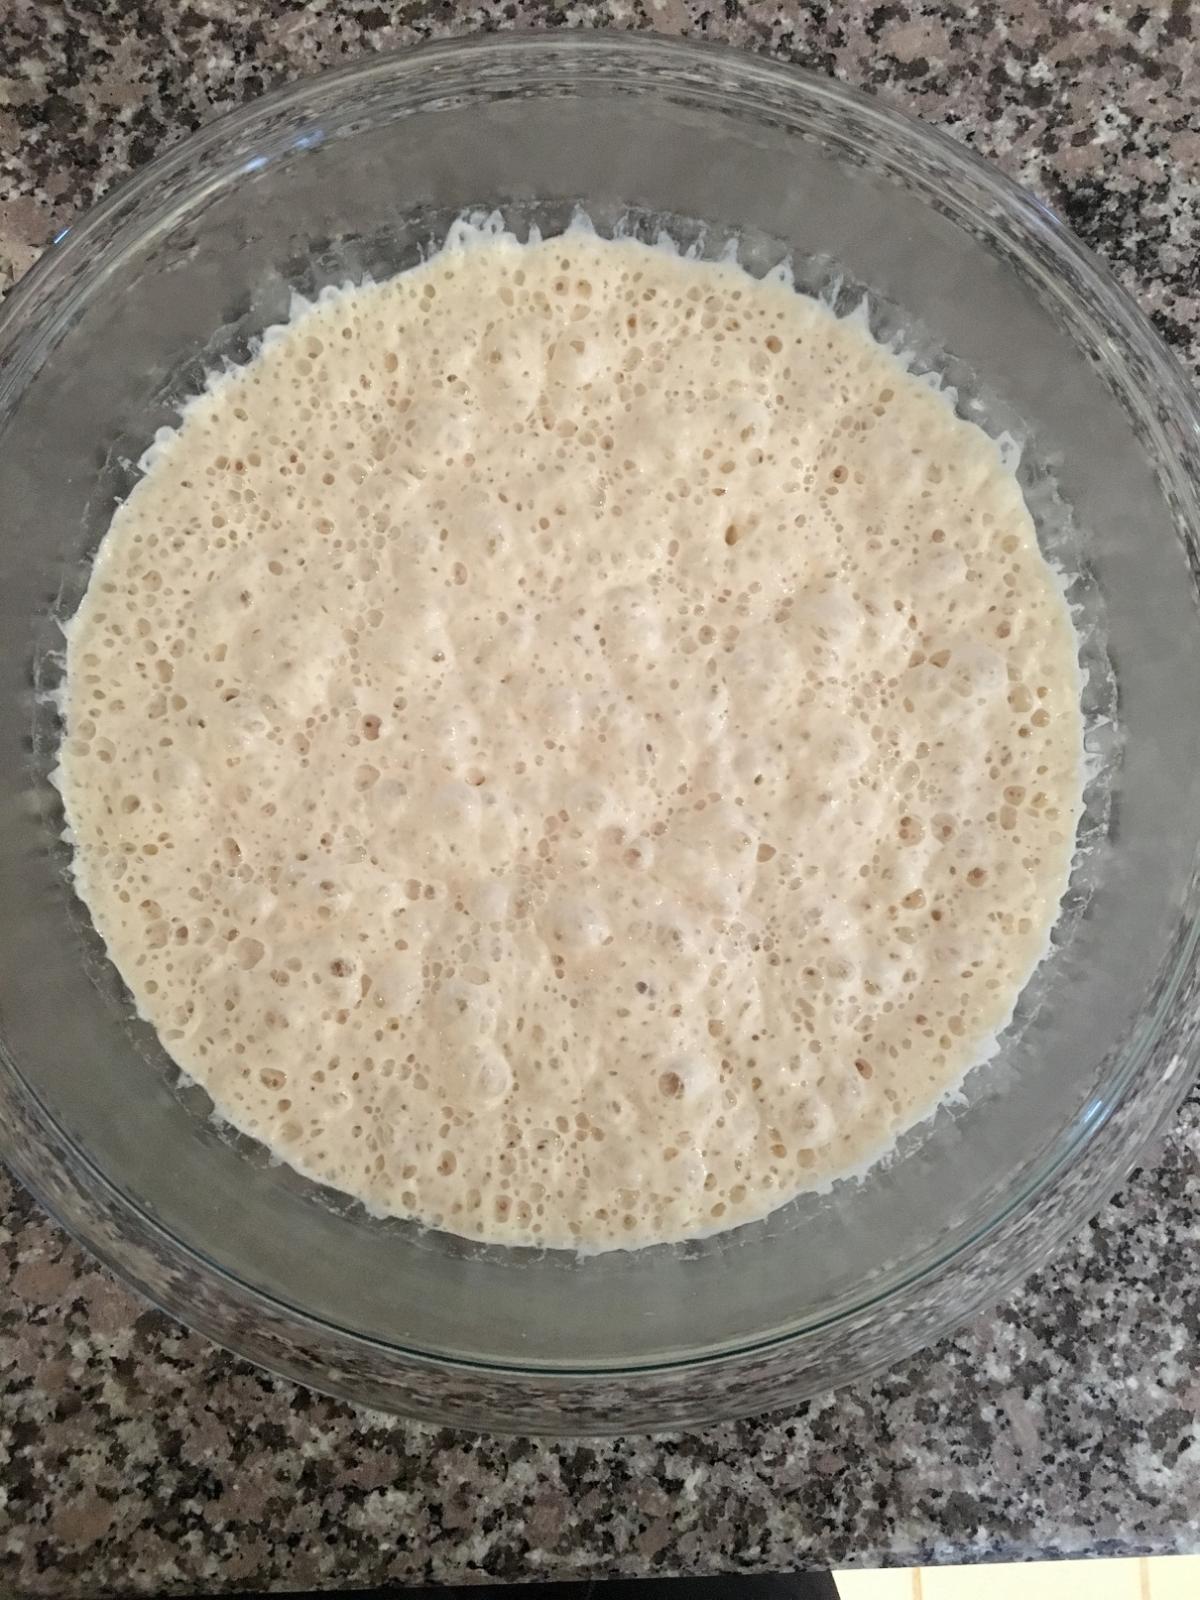
Those are combined in a bowl and then covered for an overnight (12-14 hours) at room temperature.
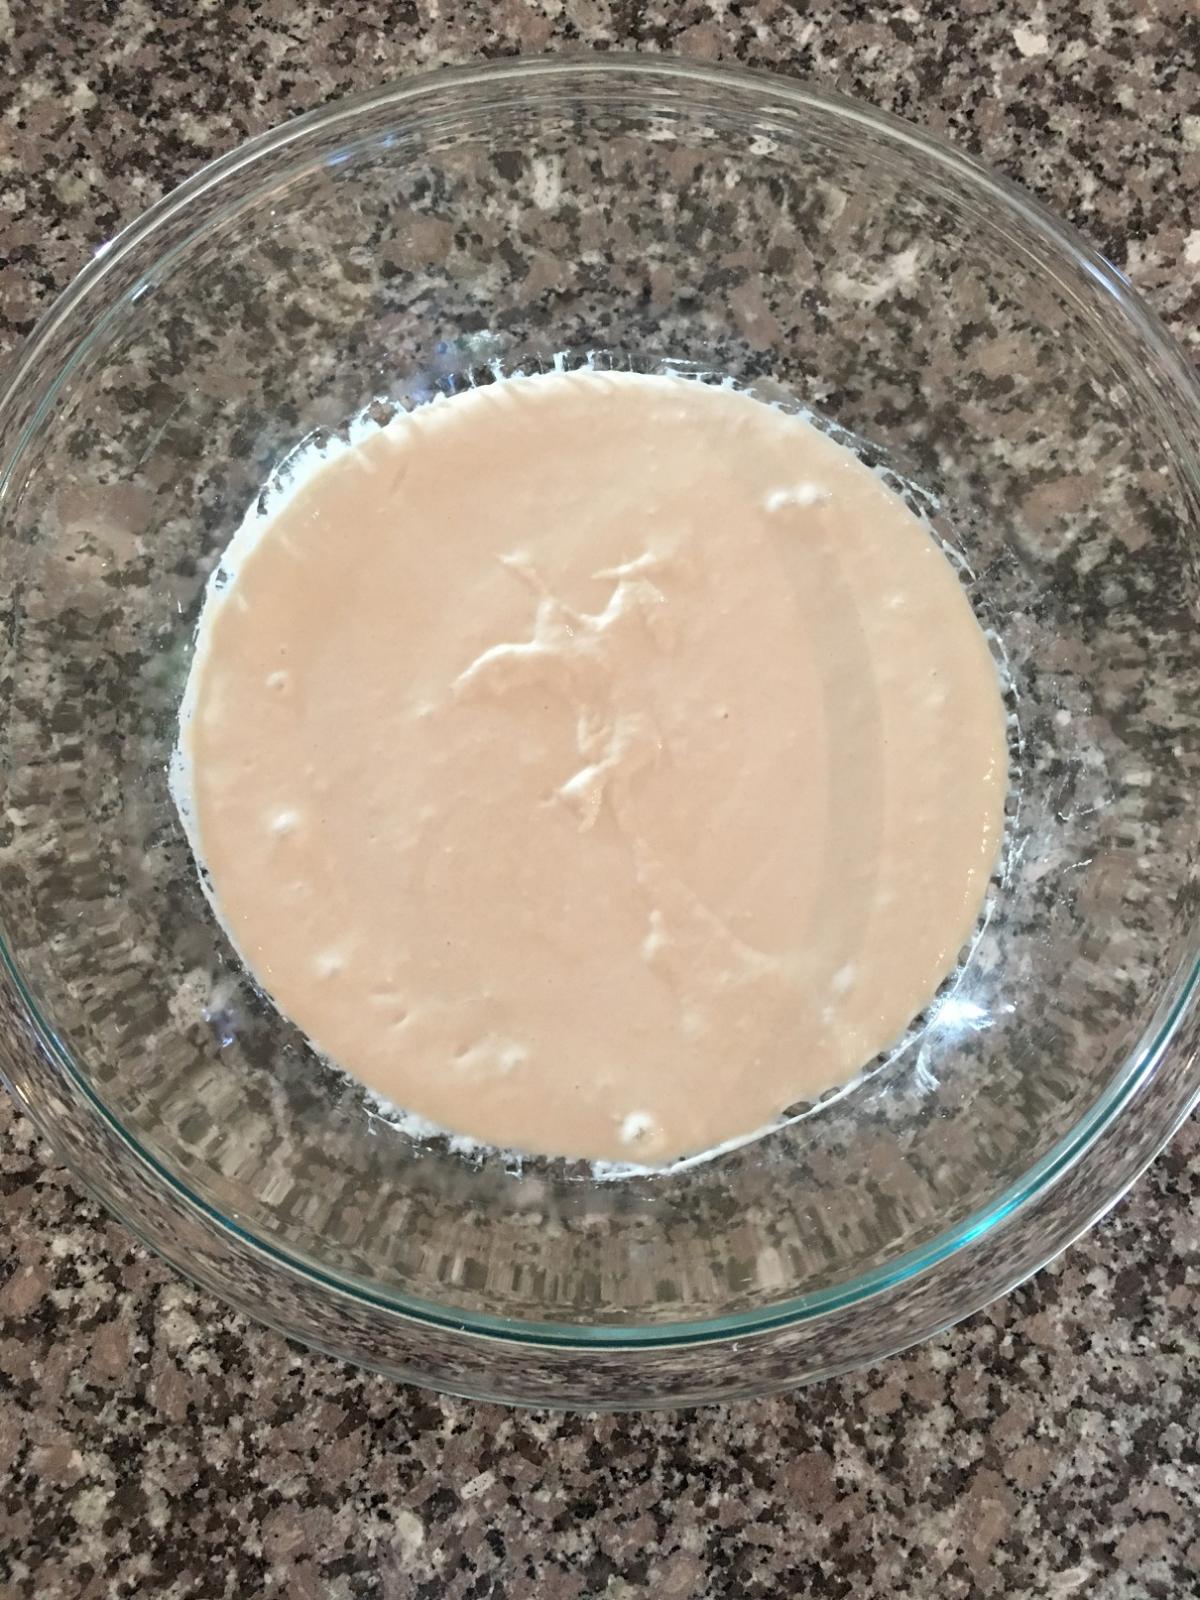
The goal is to reach a nice bubbly condition.
Along with the usual flour (all-purpose and some whole wheat), water, salt, and yeast, this bread includes wheat germ and wheat bran.  The first step of course is to weigh the various ingredients. [Note: Forkish uses 3/4 of a teaspoon of instant yeast, but I cut that back to 1/2 teaspoon based on prior experience with this dough.]

The dry ingredients are put together in my mixing tub (a 12-quart Cambro).  Water is added to the poolish and stirred a bit.  The dry ingredients are mixed with a whisk, and then the poolish/water is poured onto the dry ingredients.

In the beginning I use a dough scraper to help distribute the water and poolish among the dry stuff, but eventually I switch to using my hand.  A nearby bowl of water for dipping my hand helps to keep too much of the dough from clinging, but this is a sticky mixture.  Perhaps eight to ten minutes of pretty vigorous kneading (a combination of Forkish's pincer, Wilson's tugging, and some pulling) is followed by  letting the dough rest for about three minutes and then another couple of minutes of kneading to make sure I like the feel of the dough.  (It has developed some gluten, exhibits elasticity, and hangs together when I pull.)  I then check the dough temperature and put the lid on for a thirty minute period.
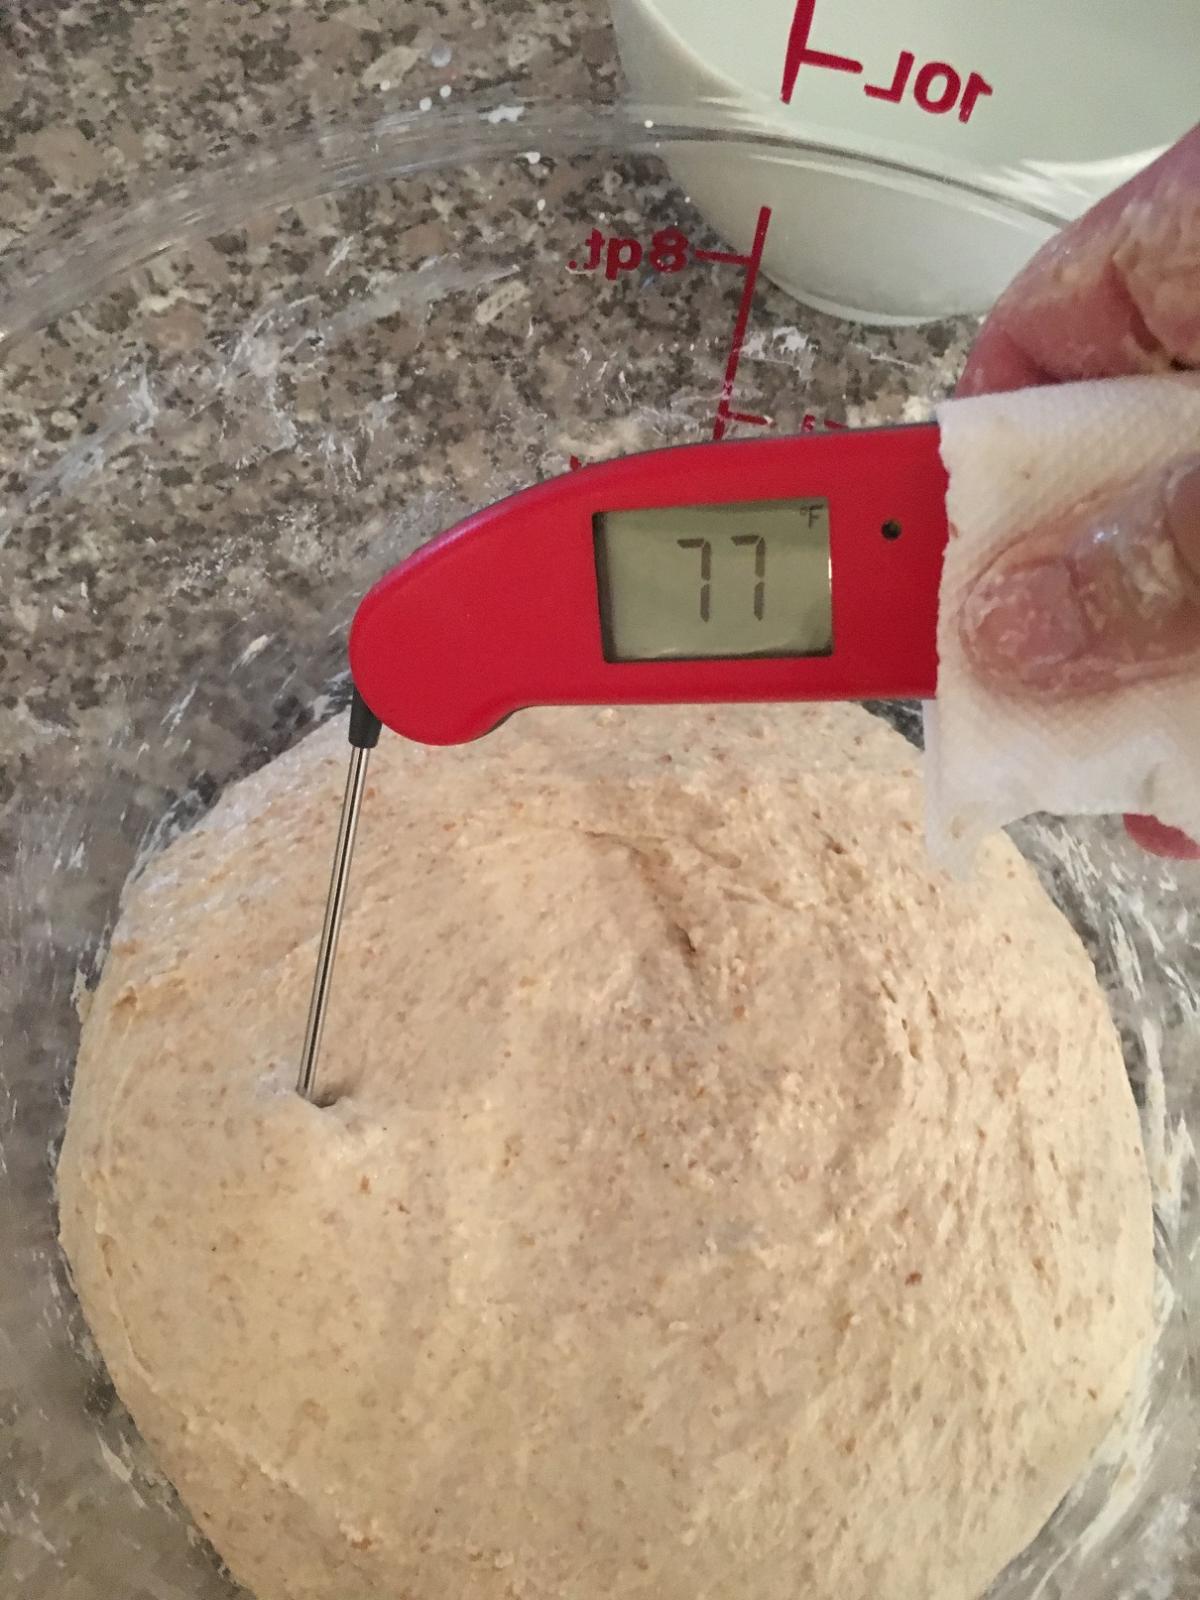
After thirty minutes I check the dough from the top and the side and then do a set of stretch and folds.
After another thirty minutes it is time for another set of stretch and folds.  The dough is beginning to rise and show some bubbles.

Forkish suggests two S&F sessions, so now it is time to watch the dough during the remainder of the bulk fermentation.  After one more hour, the dough had risen and there were enough bubbles, and the surface was looking puffy and a bit jiggly.  Time to pour the dough onto the countertop.
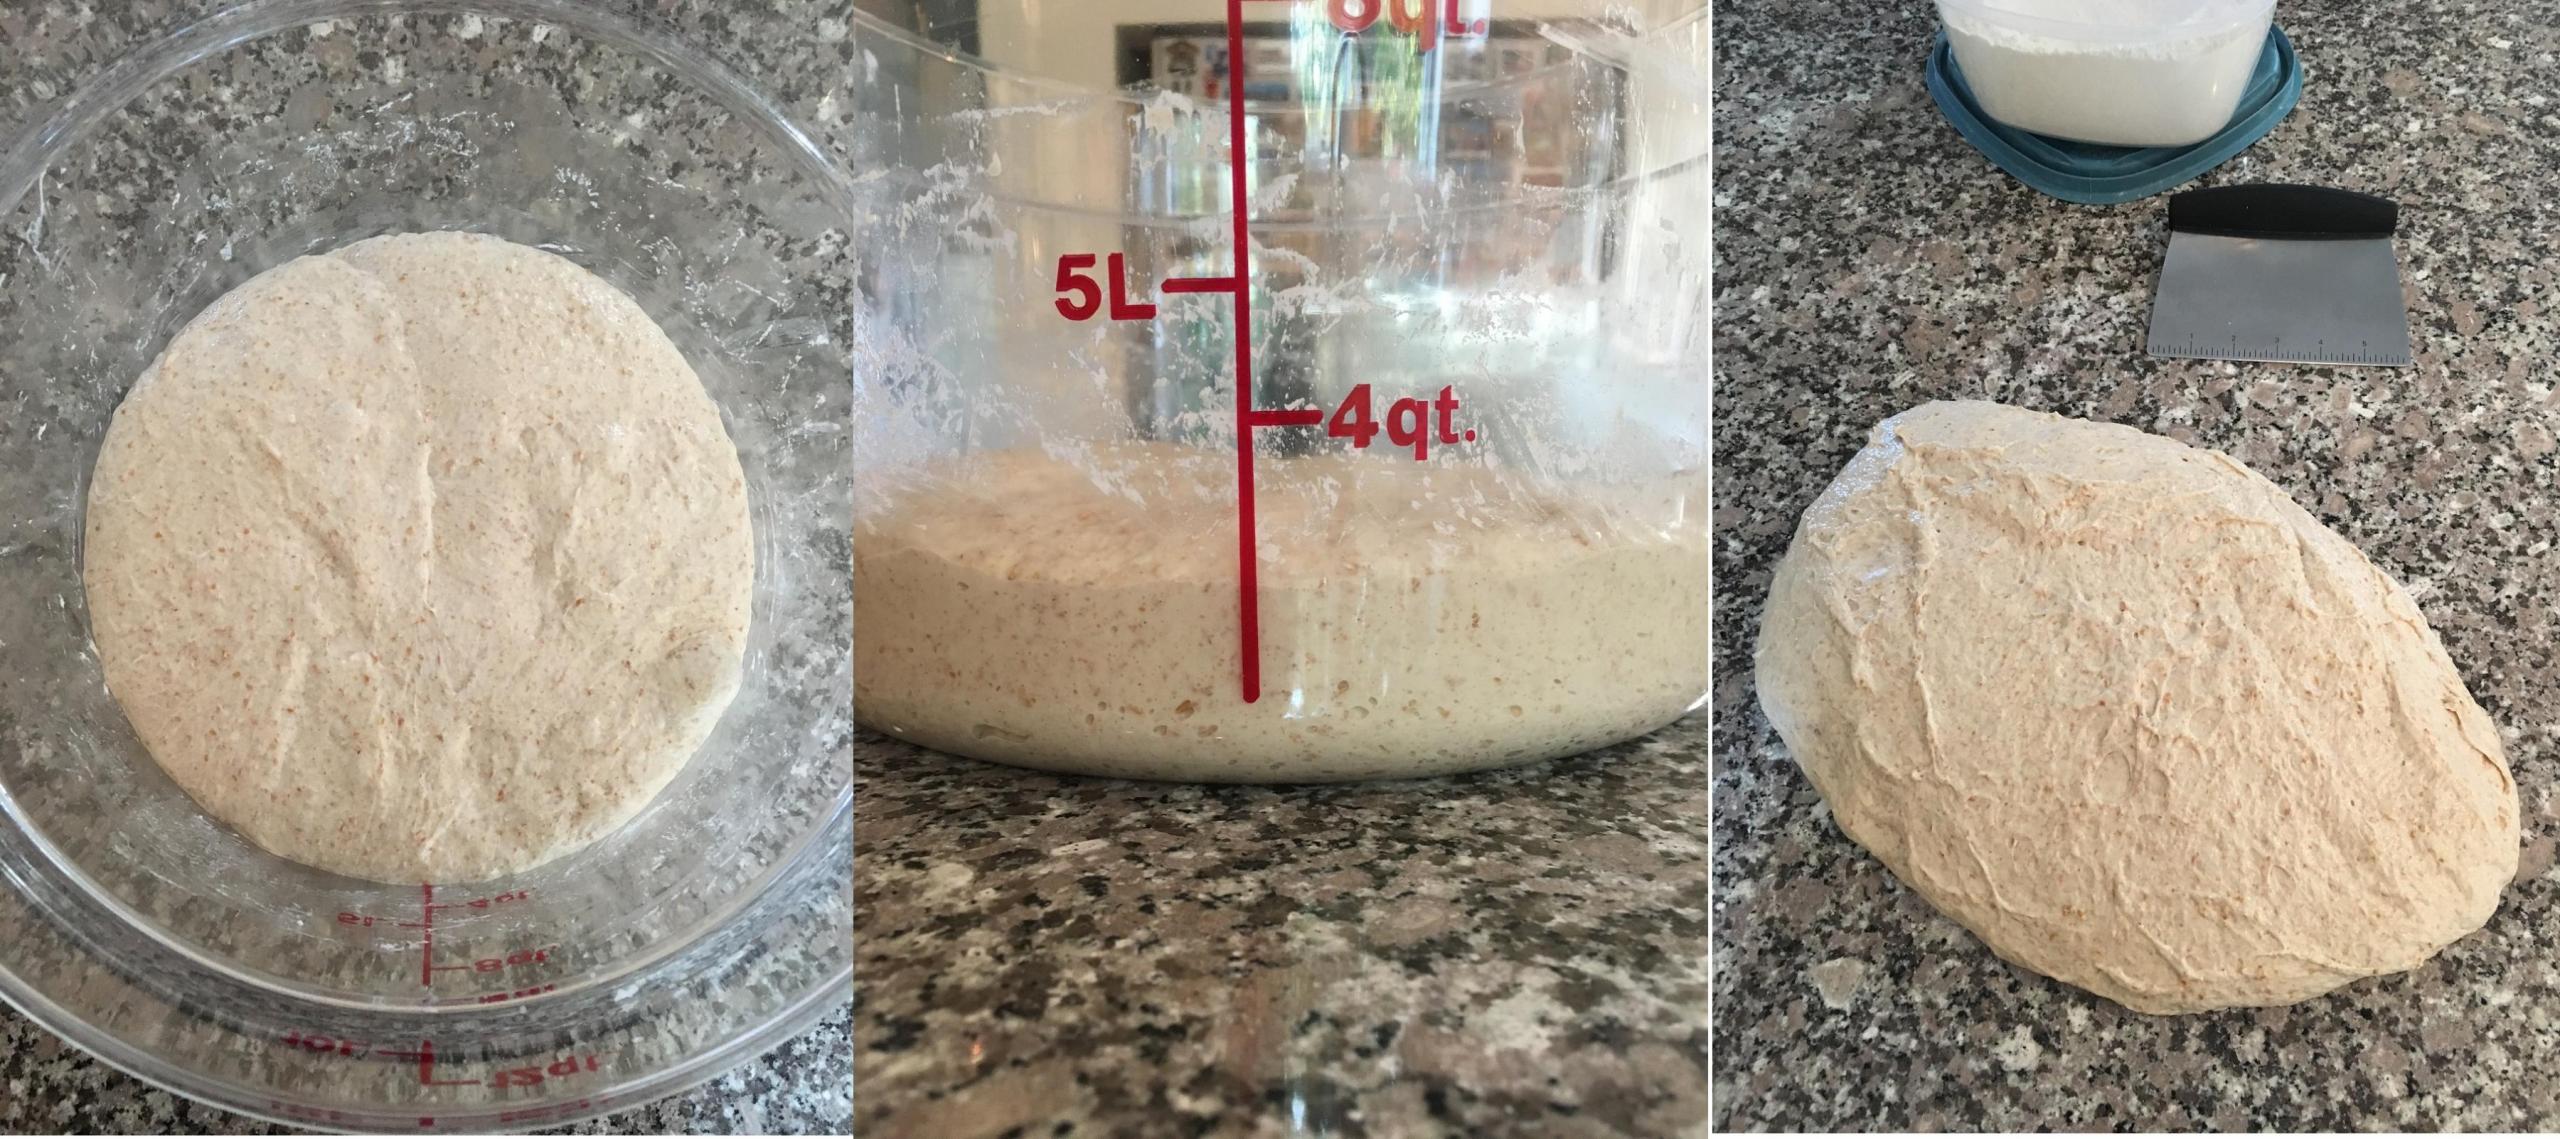
Although Forkish rarely includes a pre-shaping, I like to include them, if only to promote some extensibility before final shaping.  I pre-shaped into rounds, let them sit under a linen tea towel for ten minutes, and then did final shaping (one a boule and the other a batard -- still learning how to make that shape).

The dough then went into bannetons, which were placed in large plastic bags, sealed, and left at room temperature to proof.
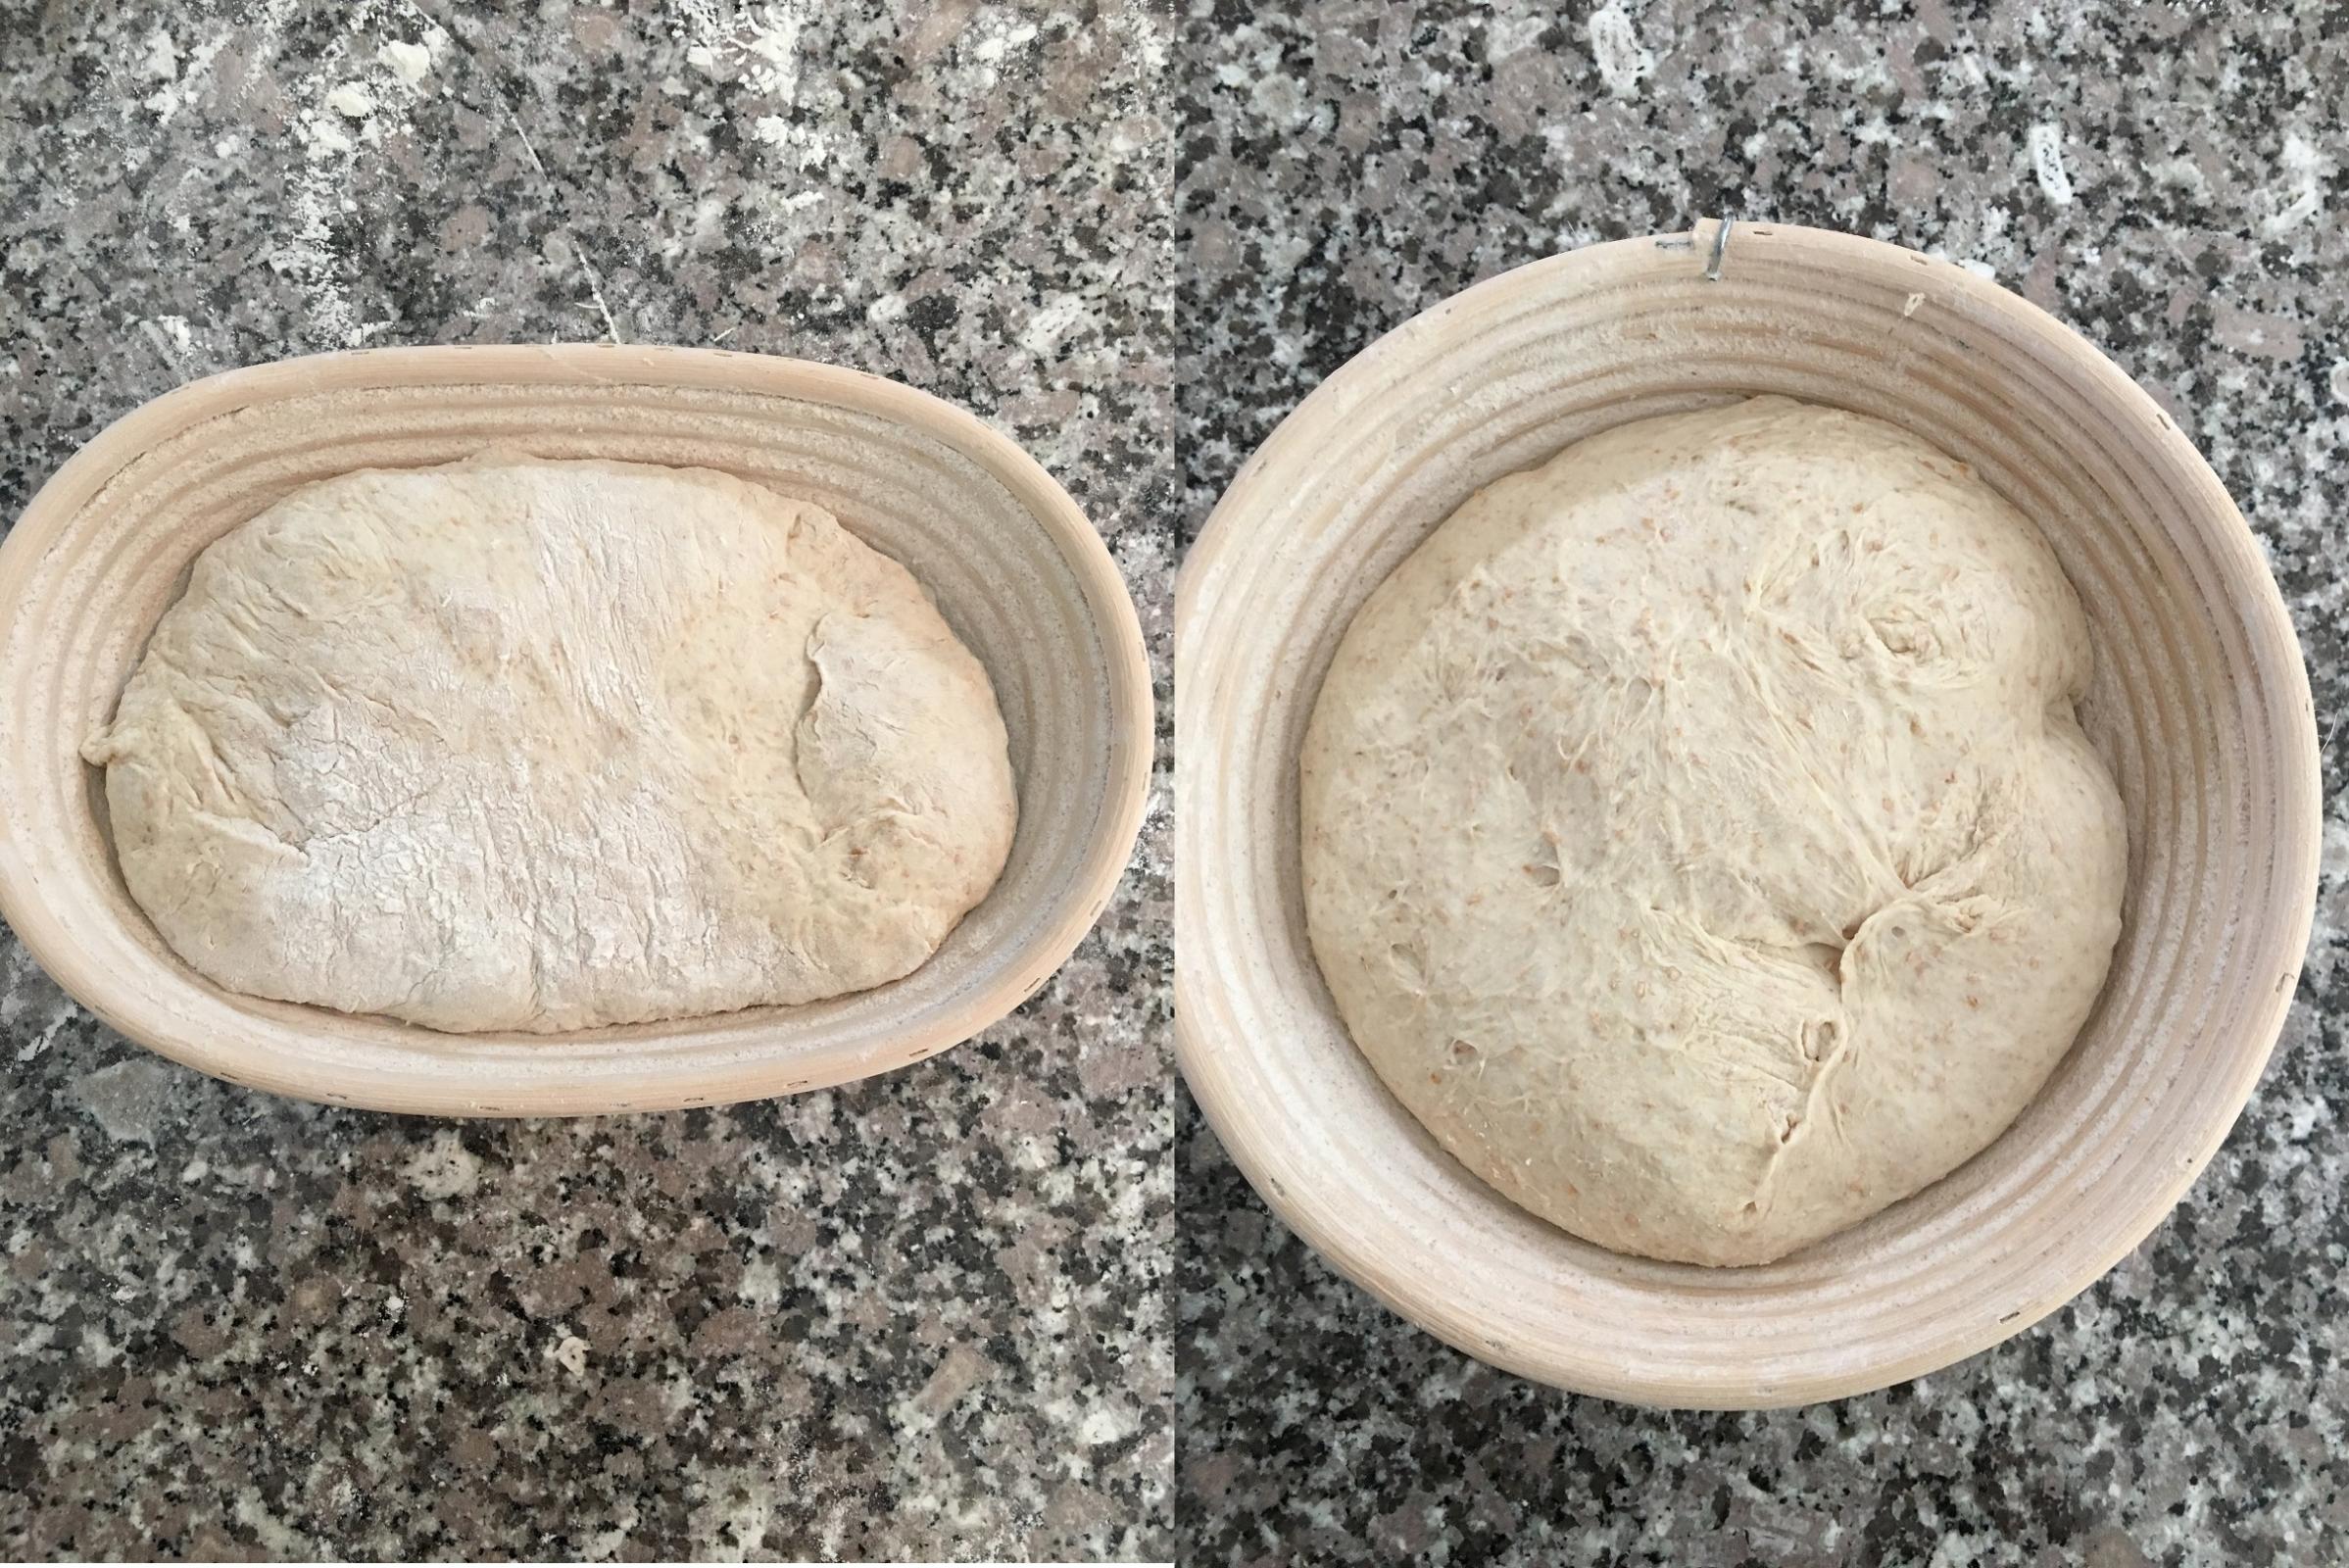
After a mere forty minutes (remember I said that this is baking in the fast lane) the loaves had risen noticeably and were ready for baking both visually and from the finger poke test.
The batard went onto a sheet of parchment paper and after being scored was placed onto a peel and into the oven on a baking stone at 450F.  The boule was plopped onto my hand and then quickly cradled by both hands and placed into a Dutch oven, scored, and put into the oven at 475F.
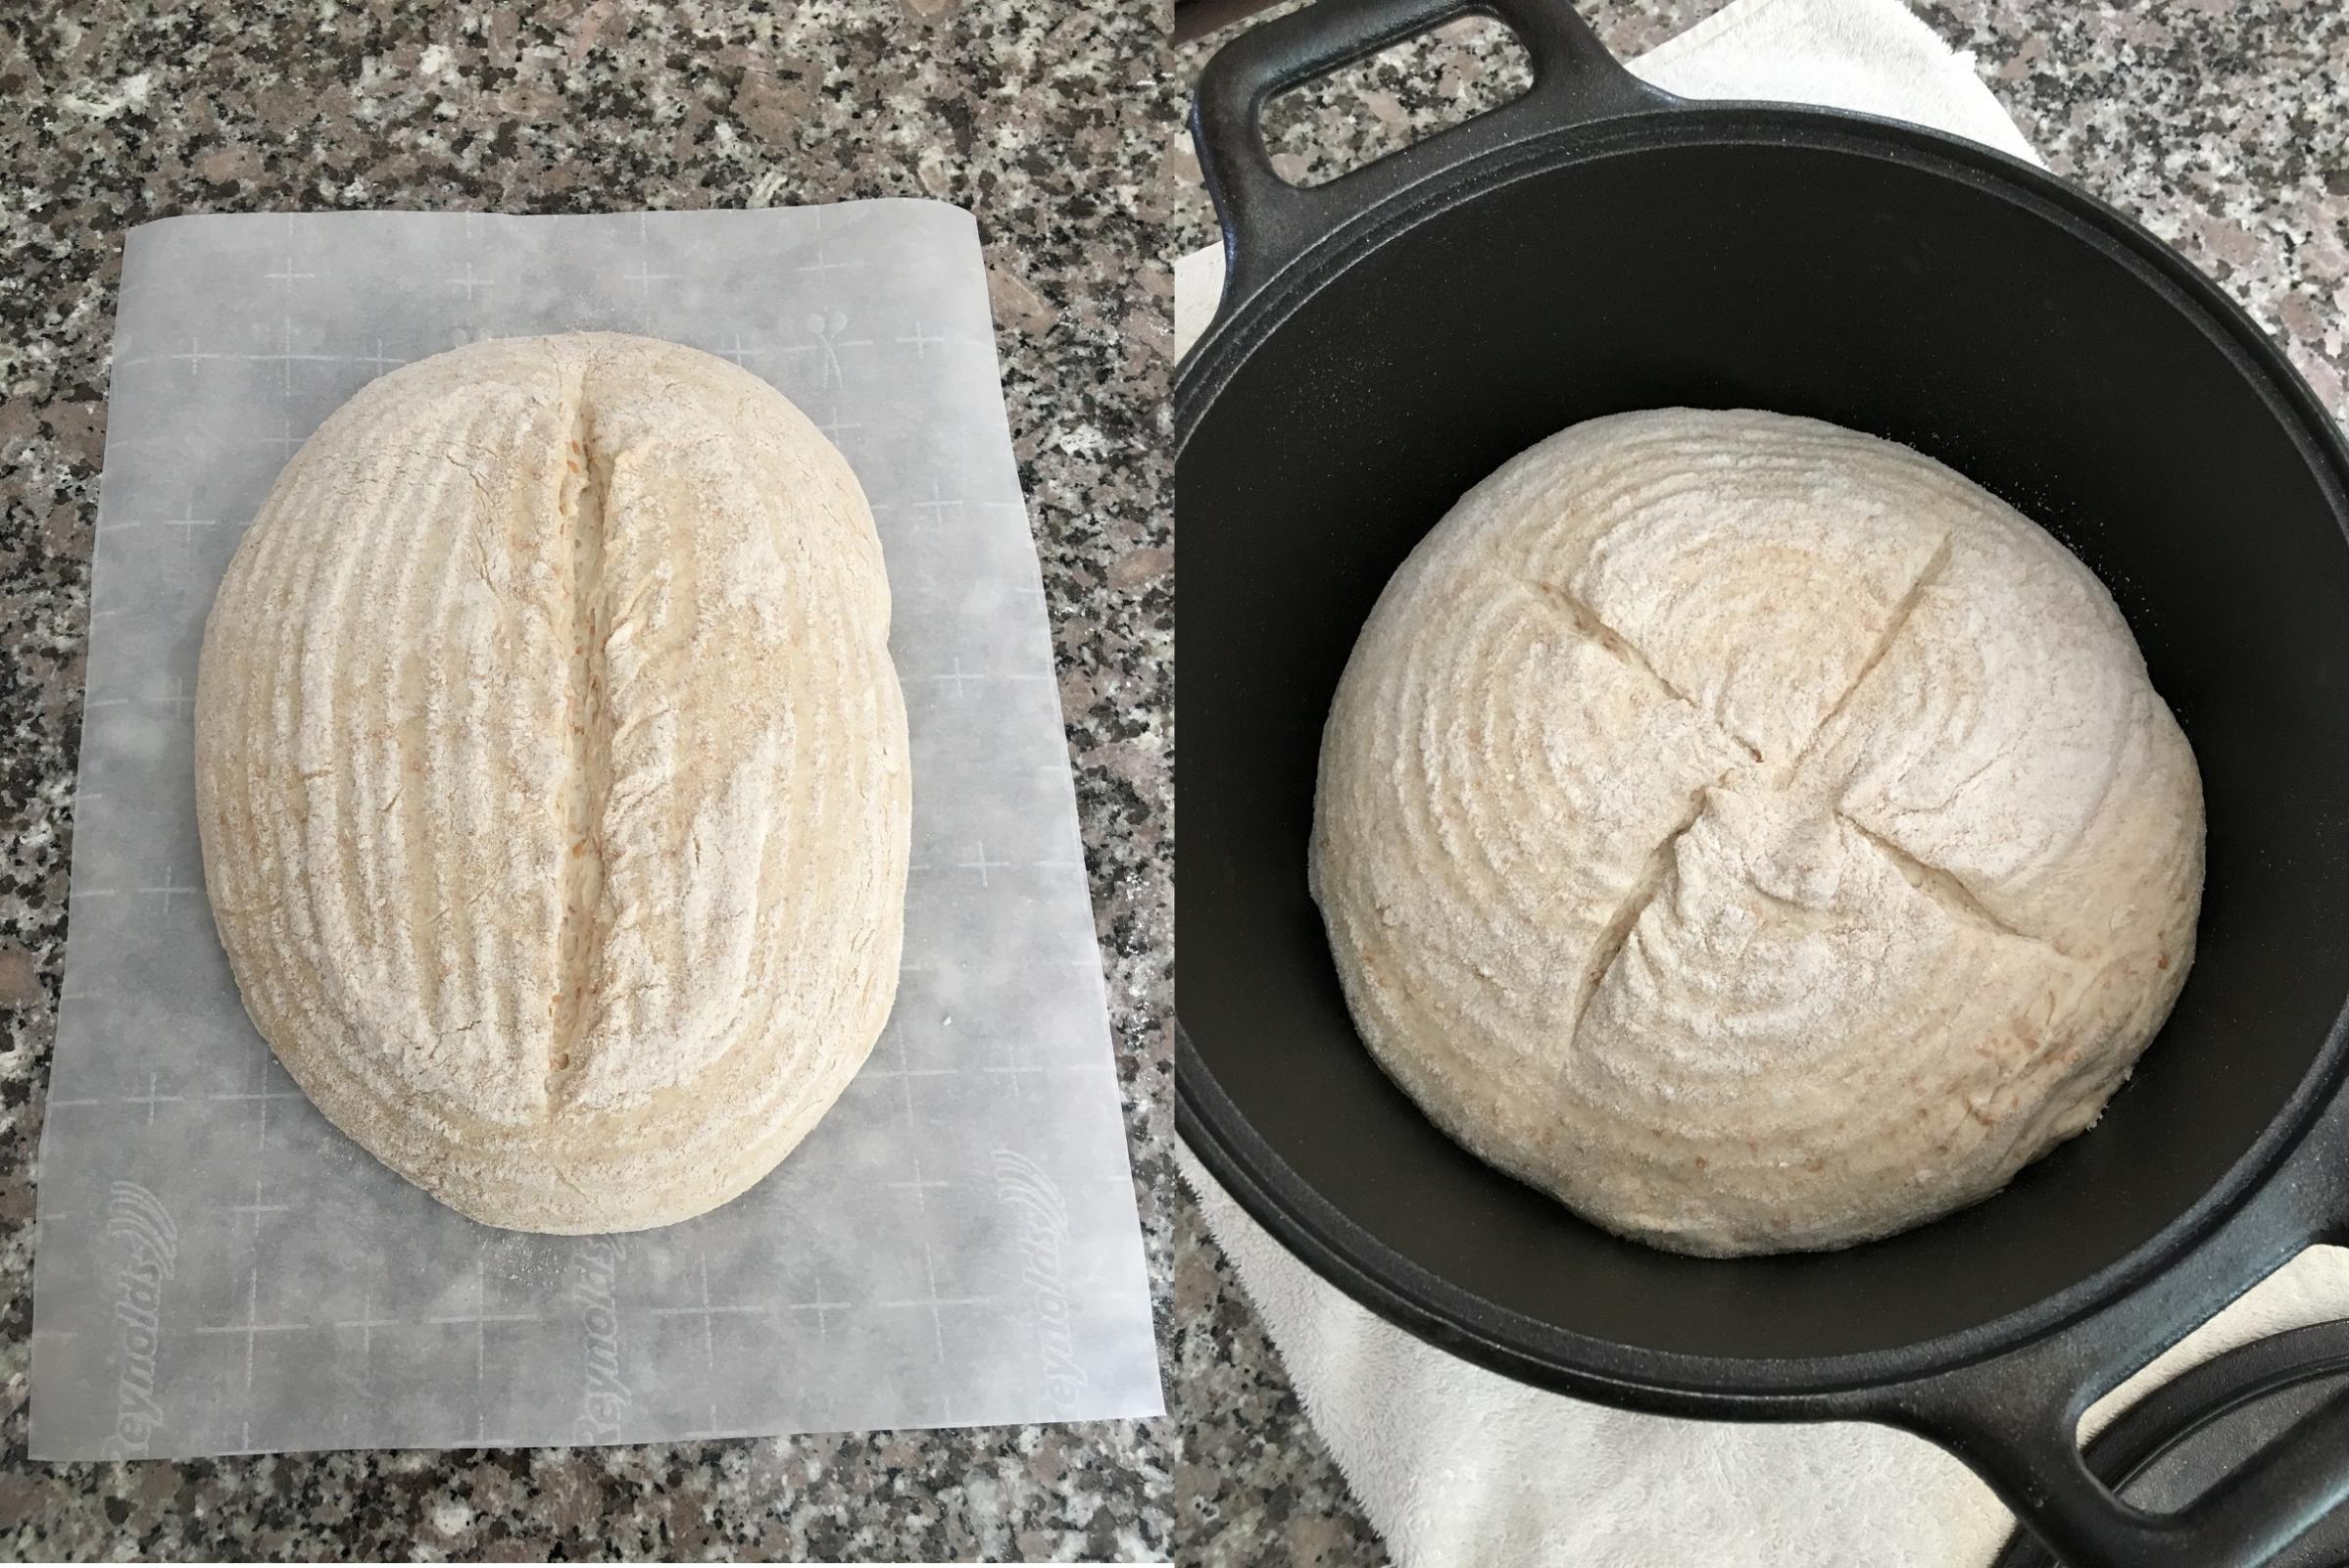
The batard baked for forty-five minutes (with a rotation at twenty).  After thirty minutes I took the lid off the Dutch oven, and the boule continuted to bake for another twenty minutes.  The internal temperatures were about 207F.

The batard was a gift for a friend and weighed 718 grams.
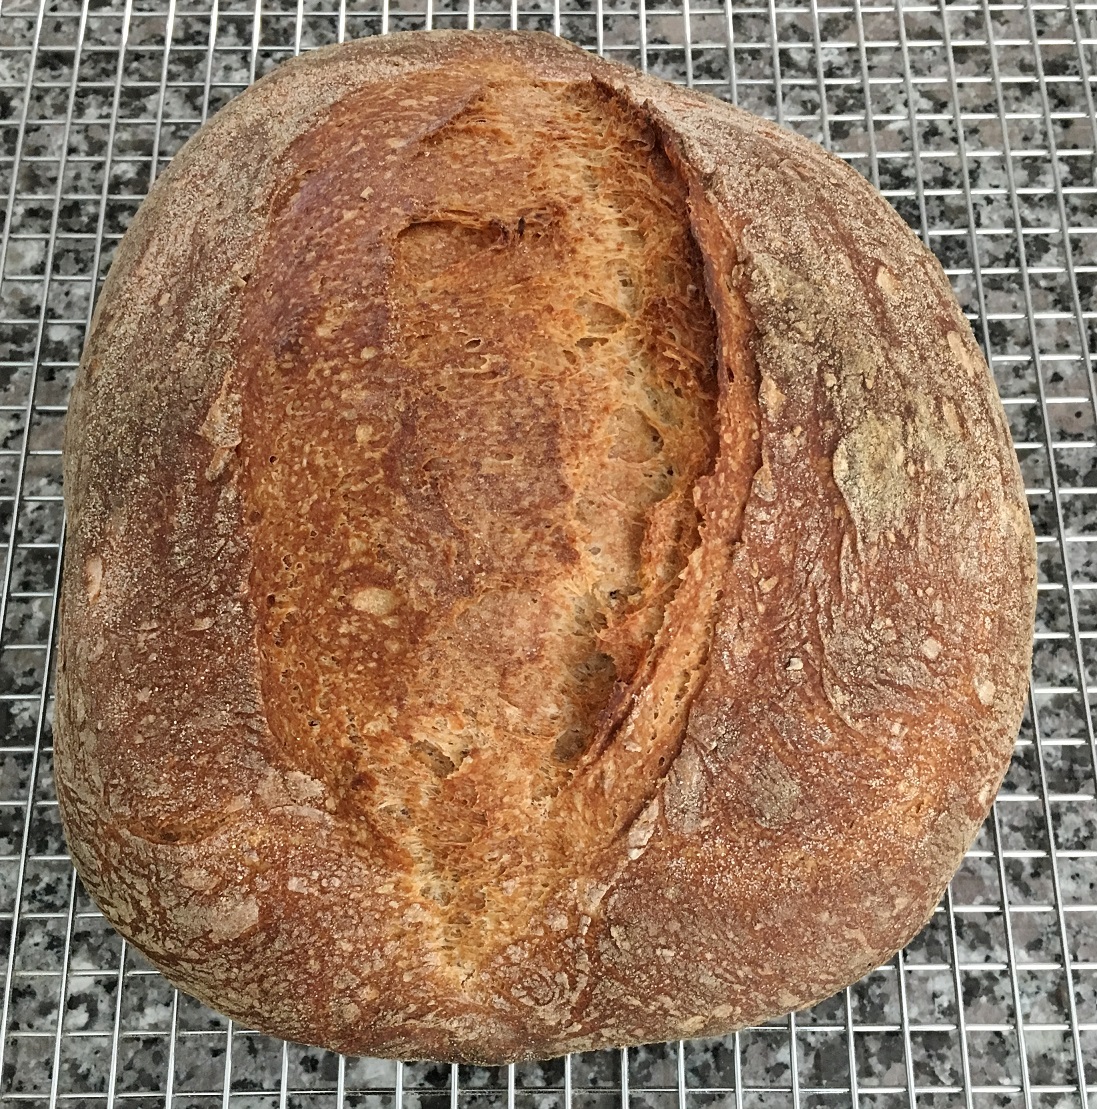
We kept the boule, which weighed 870 grams.
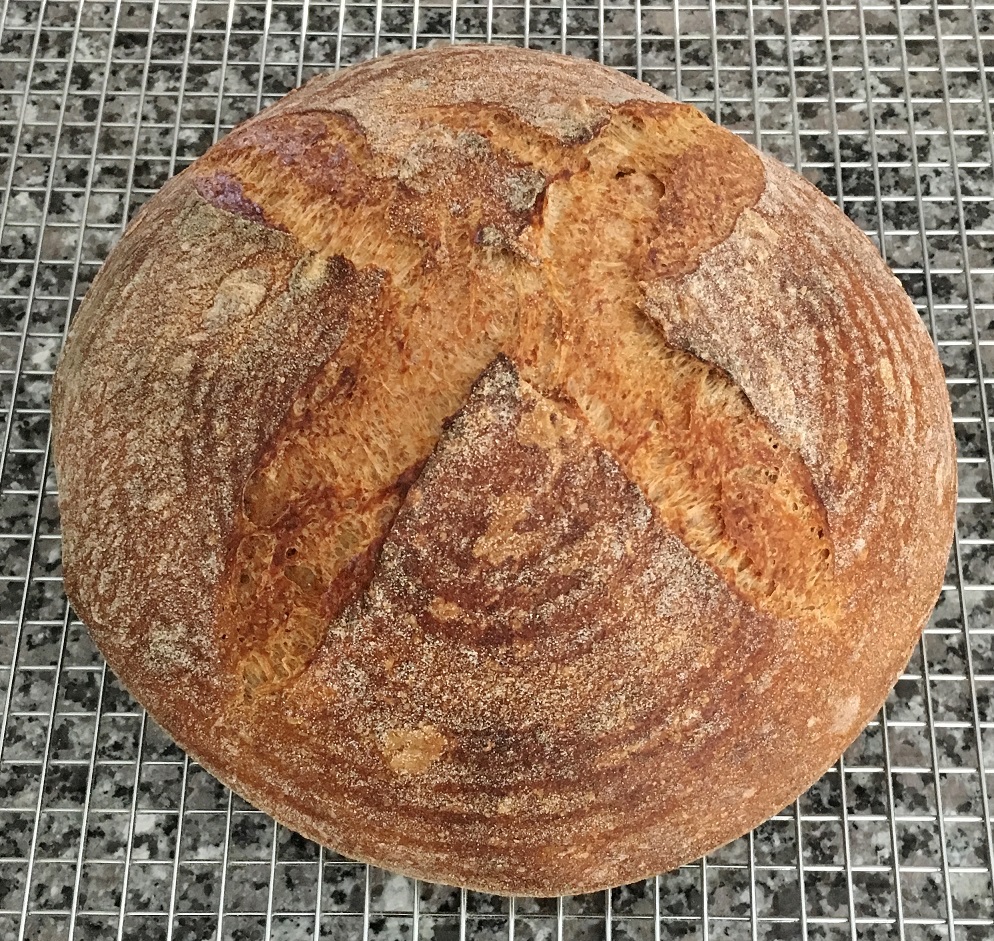
The crust is a little chewy, but not overly, and the crumb is light and tasty.  Yum.
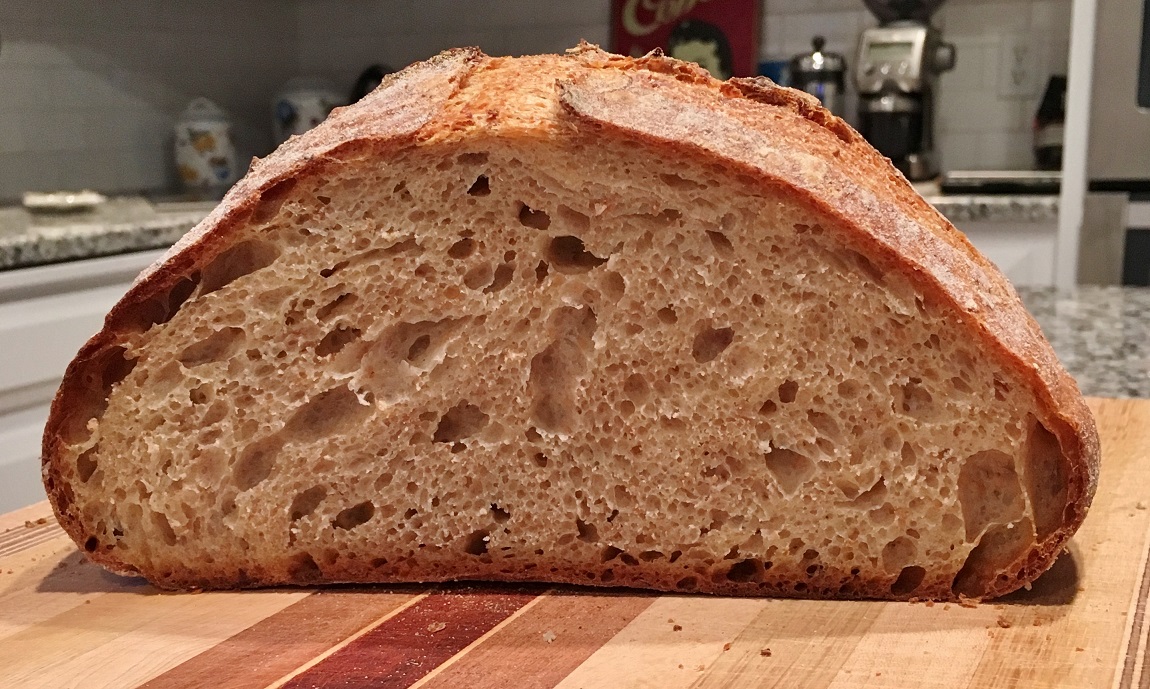
The bread is great by itself as well as with butter, toasted, and with other toppings.  If you decide to make this bread, and especially if you are accustomed to the pace of a sourdough loaf, be alert and watch the dough during all phases.  I began a shade before 8:00 am and took the baked loaves out of the oven before noon.

WatertownNewbie's picture
WatertownNewbie

A few weeks ago, someone posted about a rye bread, and David Snyder referenced a recipe for Hansjoakim's 70% Sourdough Rye.  Having dabbled a bit with whole rye flour (as in Field Blend #2 from FWSY), but never having plunged deeply into that area, I decided to give it a go. Especially because the recipe sounded relatively simple and straightforward.

If you are looking for a bread with a nice rye flavor and texture, try this one.  Thanks, David!

First I needed to create a rye starter, but that was easy.  As David indicated in the other thread, one feed of rye to my regular starter (typically fed with a 50/50 mix of AP and whole wheat) was enough.  At 7:55, am I mixed 15 g of my regular starter with 50 g of whole rye and 50 g of water.  Opting to bake two loaves, I created one rye sour final build at 5:30 pm and the other at 6:20 pm so as to stagger the bakes the following day.

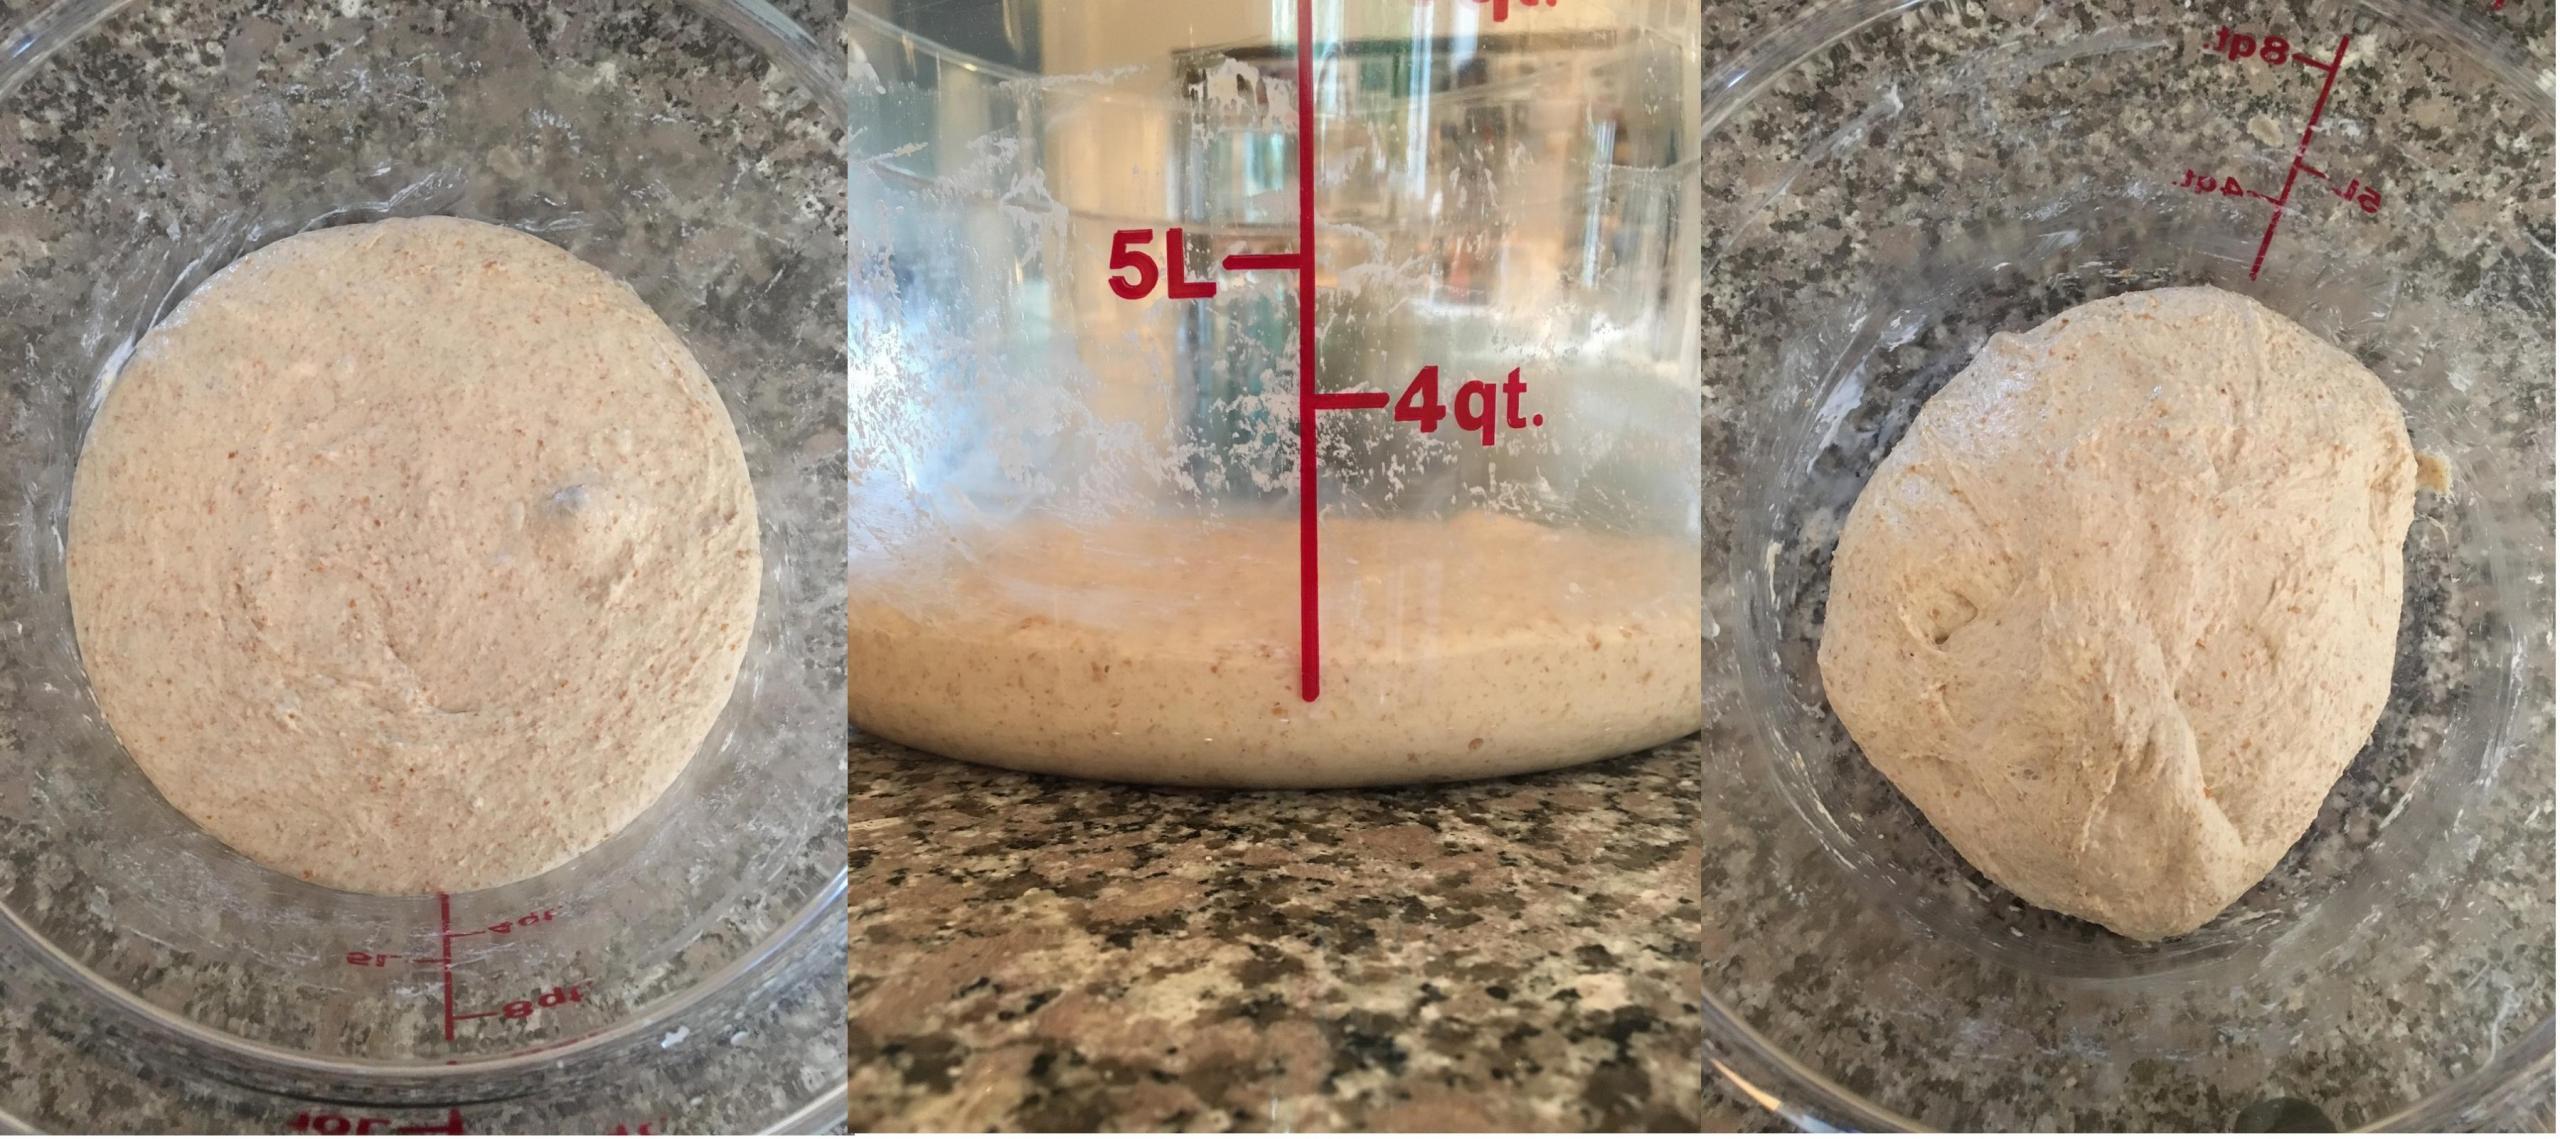
If you think that you need a lot of starter, consider these photos.  A piddly 11 g of starter combined with 218 g of whole rye and 218 g of water.  The middle picture is right after mixing the build, and the picture on the right is from the next morning.  Sure surprised me.

I chose to use my KitchenAid mixer.  Everything goes in at once for three minutes with the paddle and then three minutes with the dough hook.  The mixture tended to cling to the paddle, but not so much to the dough hook.  (Forget about those admonitions with wheat flours to mix until the dough leaves the sides of the bowl.  This rye dough ain't leaving nothing.)  As David mentioned, the mix "at this point is a thick paste with little strength."  Certainly unlike any dough I had worked with before.

Did I hear anyone asking for a quick bake?  There are no stretch-and-fold sessions.  Simply transfer the dough to an oiled bowl and cover it for an hour.  That's the entire bulk fermentation.  Pre-shape (to the extent possible -- this stuff feels more like a pile of mashed potatoes), bench rest for a whole five minutes, and then final shape (again not so easy, but I did manage a sort of Tartine-type package) and into a banneton.

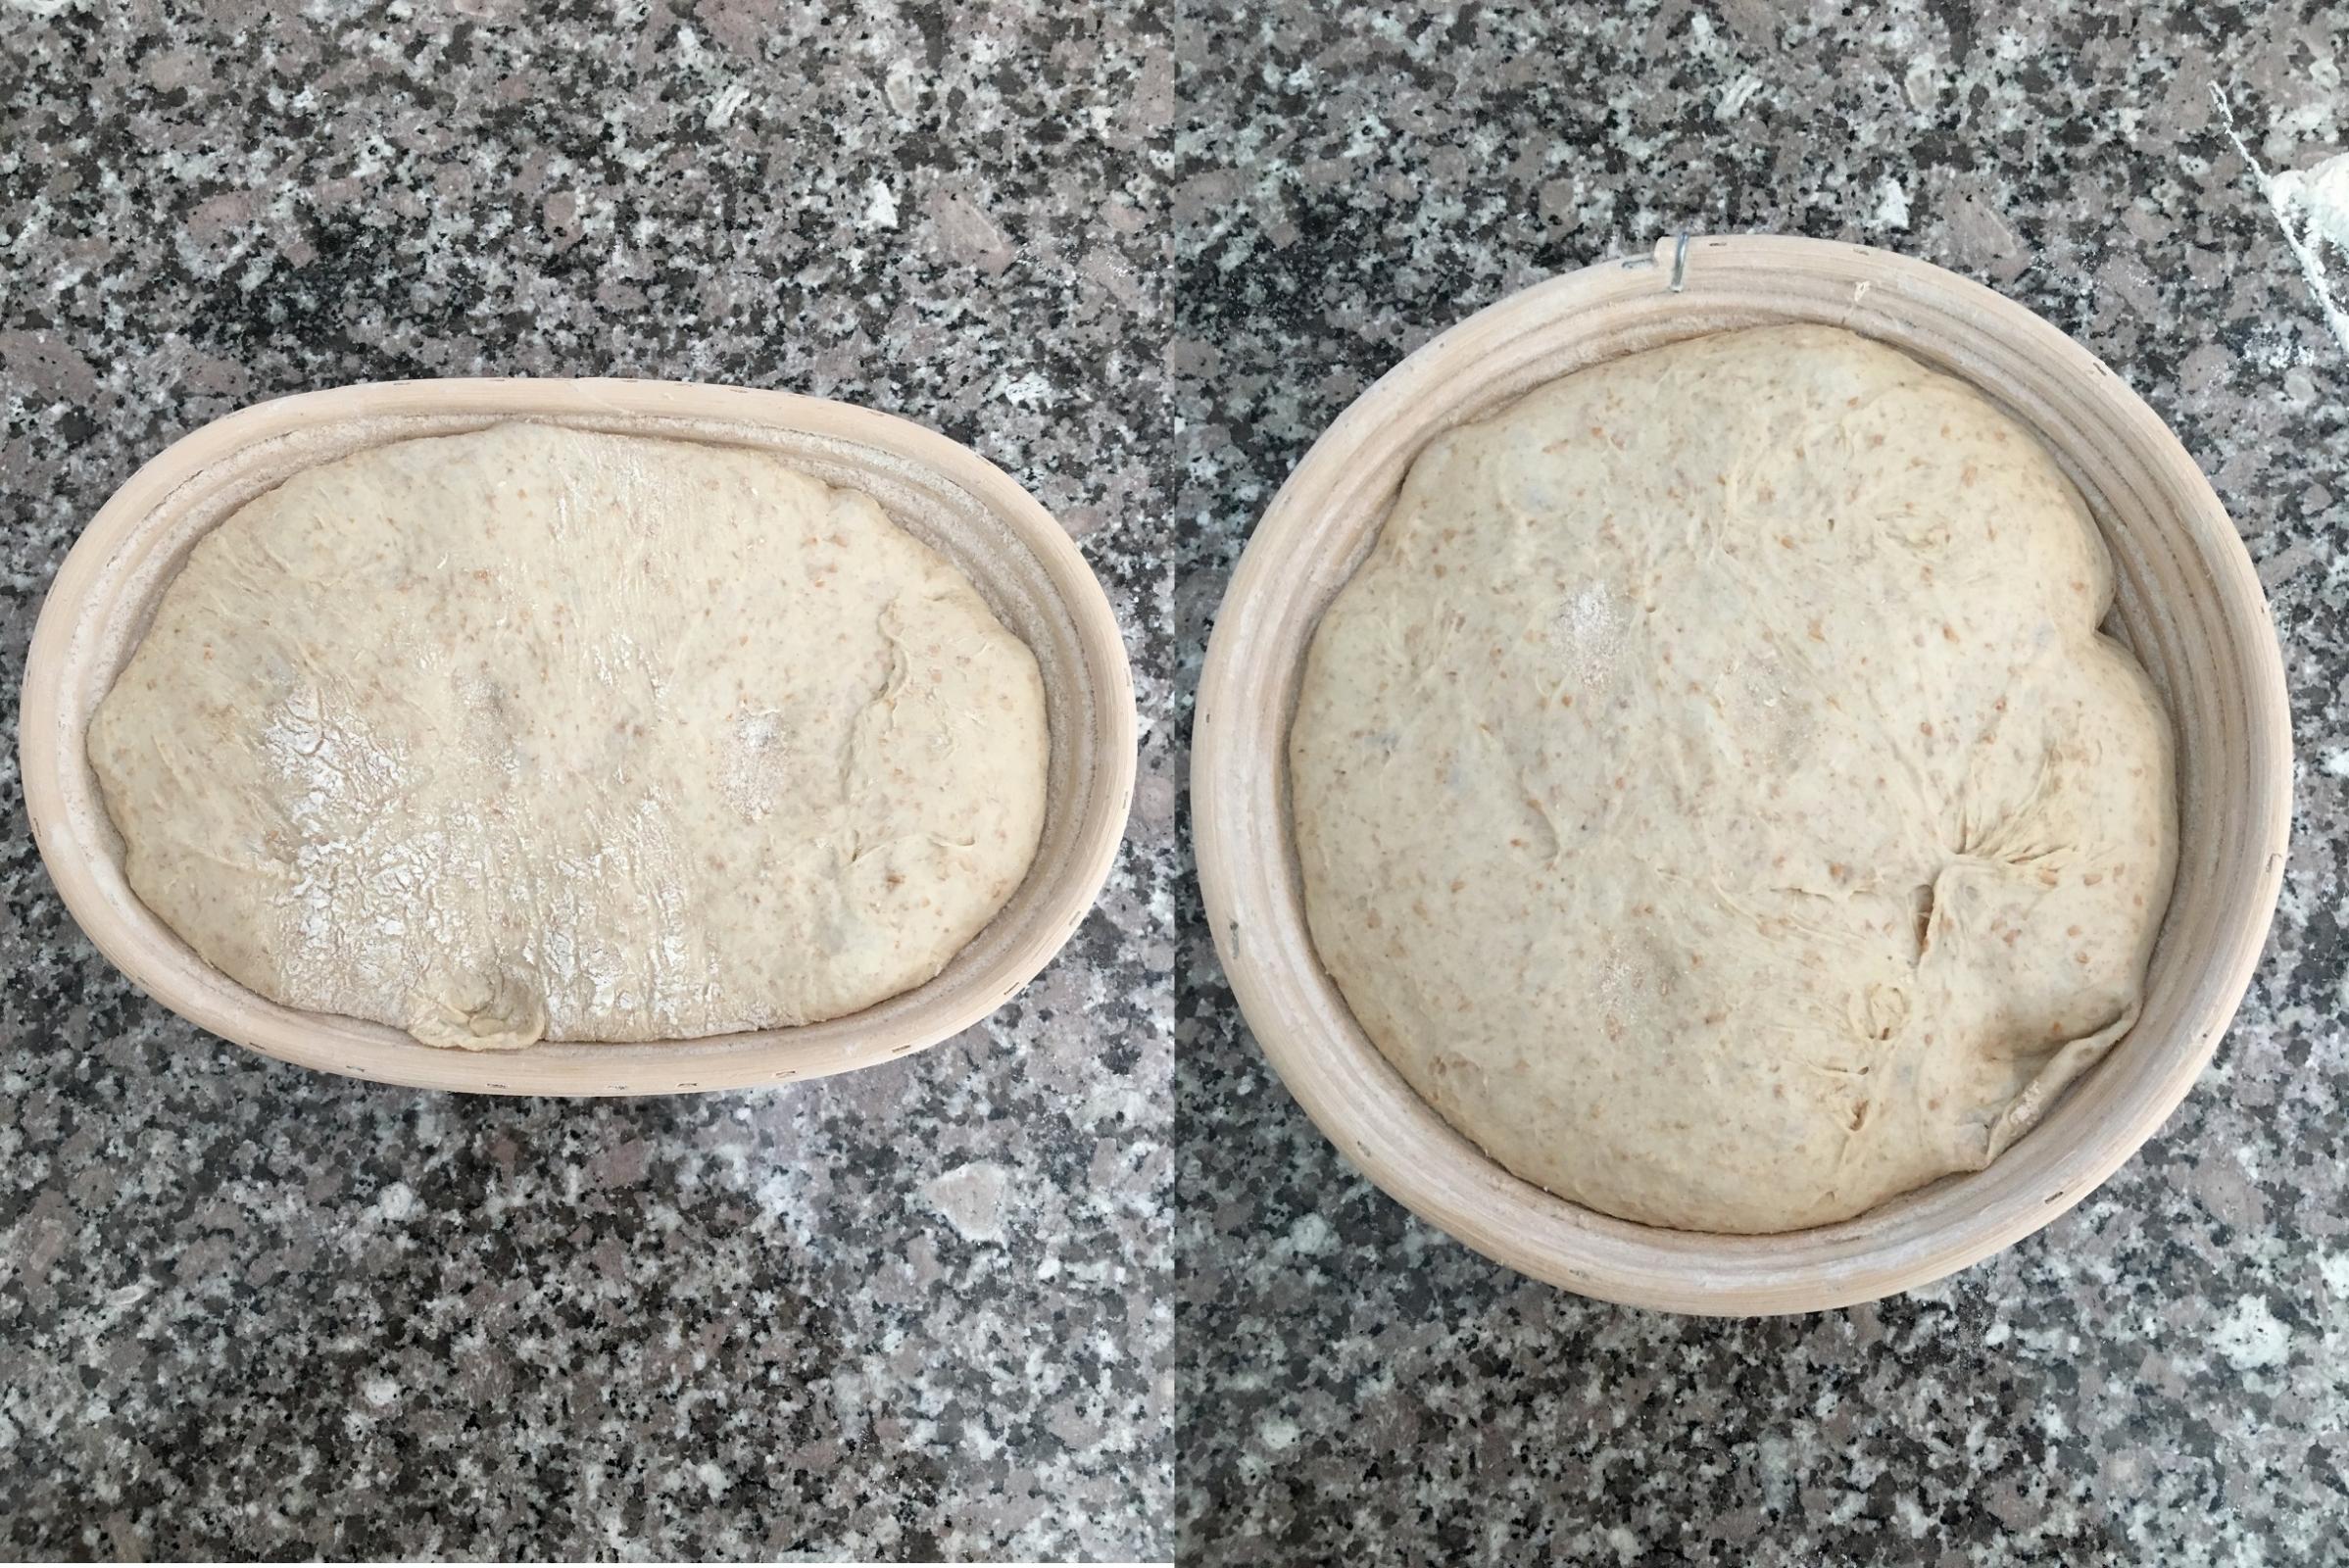
The recipe calls for a two hour final proofing, but this stuff rises swiftly (even Field Blend #2 with its commercial yeast supplementing the sourdough starter is nowhere near as fast to rise).  My kitchen was about 80F, and taking David's advice to heart (his kitchen was a similar temperature according to his write-up), I shortened the period to about an hour-and-forty-five minutes.  In retrospect (note to self for the next bake), with a kitchen that warm, I would consider an even shorter final proofing.  Here are the before and after (just into the banneton and just before coming out).

The bake went as David described, with an initial temperature of 480 being dropped to 440 and then 420 and then 400.  I too did not get much oven spring, and I attribute that to leaving the dough too long in the banneton.  (The loaf with the slightly greater oven spring is a gift for someone else, and that loaf proofed a shade less time.  Maybe I will see the crumb.)  The bread has a great rye flavor, however, with a nice chewy crust and a crumb that is both soft and dense.

Starting at 8:00 am, I had the first loaf out of the oven a pinch after noon.  Although the recipe cites medium rye, I used whole rye to capture as much rye flavor as possible.  This is definitely a bake that I will do again.

WatertownNewbie's picture
WatertownNewbie

A week or so ago Ru posted her seeded sourdough, and I felt inspired to give the recipe a try.

The recipe is unusual for me in that with the sole exception of nine grams of salt there are no additional ingredients on the second day.  No more flour.  Not even any new water.

The night before, I combined 20 g of starter, 40 g of whole wheat, and 36 g of water for the levain.  (Ru uses a rye starter; mine is a 50/50 combo of AP and whole wheat fed on a 1:2:2 basis.)  I toasted 15 g of black sesame seeds, 40 g of white sesame seeds, and 25 g of flax seeds and then poured 66 g of boiling water on the mix.  (The 66 g exceeds Ru's 55 g, but seems about right.)  Lastly, I mixed 330 g of bread flour, 80 g of whole wheat, and 296 g of water into a somewhat shaggy mass.  After a little time in the fridge for the seeds and dough mix, all sat out for the overnight.

Just before 9:00 am the next morning, I combined the salt, levain, seeds, and dough and repeated Ru's four sets of mixing (2-3 min.) with ten-minute rest intervals.  After fifty minutes I did a stretch-and-fold, and there were three of those sessions.  After the third S&F the dough sat in my cool kitchen as the afternoon warmed a bit.  Eventually the dough went onto the countertop around 5:45 pm, was pre-shaped, and had a thirty minute bench rest.  After final shaping into a batard, the dough went into a banneton.  I expected a slow rise, but the wee beasties had sprung into action, and by 8:00 pm I sensed the need for refrigeration.  My intent had been to retard overnight, but I could see as the night wore on that waiting until the next morning to bake could be a mistake.  By late evening the dough nearly filled the banneton, and the poke test produced dents that sprung back, but not fully.  Time to heat the oven.

The dough went into the oven shortly before midnight.  The first twenty minutes were at 475 degrees (F), and then I reduced to 450 degrees.  The total bake time was forty minutes, and the loaf weighed 815 g.

A fun loaf to make, and the seeds definitely add something both in taste and texture.  My wife tends to like seeded loaves, so I am waiting for her reaction when she has a chance to try some tonight.

Pages

Subscribe to RSS - WatertownNewbie's blog