Chocolate Sourdough - Chad Robertson's way
Chad Roberson's Tartine Bakery doesn't do chocolate sourdough (if they do, I haven't had the fortune of tasting it). We did Pane Cioccolata (chocolate bread) at Artisan III, SFBI, and it was very good. Everybody loved it but at the time I was thinking to myself if I were to make it at home I would make some changes for the following reasons:
First of all, I feel really uneasy about "double hydration" method, which is supposed to be good whenever you have any "add-ins" for your dough, be it dried fruits, nuts, seeds or soakers, or in this case, chocolate chips. The procedure is: you mix your dough with only 80 - 85%% of the recipe water in the first and 2nd speed as usual until a slightly stronger than normal gluten development has achieved, then turn the mixer back to first speed, slowly incorporate the reserved water and finish off on 2nd speed, then, add the seeds and nuts (or whatever add-ins you have) in the first speed initially for incorporation, and finish off, again, in 2nd speed. The reasoning for this method is it is easier to develop dough strength with a stiffer dough than a wet dough and so the purpose is to build up the strength before you incorporate any add-ins. Because of the longer mixing time, the temperature of water you use with this method is lower than for other doughs.
I remember we mixed the dough for nearly 20 minutes in the spiral mixer. I am not confident that I could do such a long mixing time with the mixer I have at home. I always feel "traumatized," looking at the dried fruits or nuts being beaten up and chopped up while they try to be mixed in to the dough after the latter's gluten structure has already been formed; it really takes time to break the gluten bond.
Secondly, after the dough was bulk fermented, it was scored then proofed. One other type of bread where we scored first then proofed was rye bread. It was said that because of the delicate gluten structure in both of these cases, if you were to score after the dough is proofed, you may destroy the gases that were produced. While this makes sense to me, I don't care for the look when it's baked.
Thirdly, the Pane Cioccolata formula we used at Artisan III has only 20% levain (in baker's percentages) and therefore it also has a small percentage of dry instant yeast (DIY). If I increase levain to 100% I wouldn't have to have DIY! Also, chocolate chips used were only 12% of total flour, I know my son would just LOVE more chocolate chips.
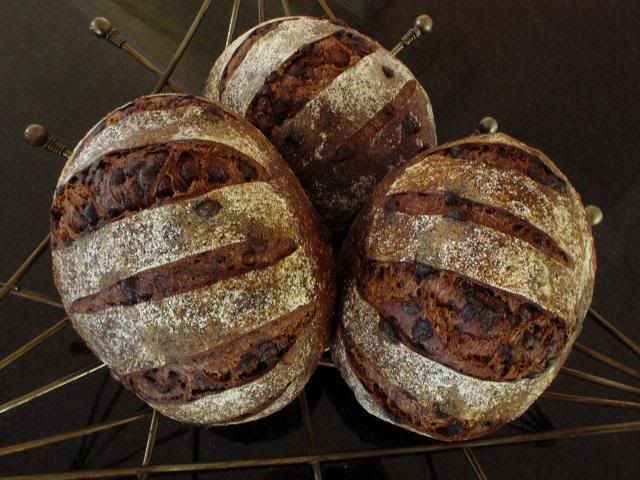
So here is my Chocolate Sourdough inspired by Chad Robertson's method all by hand (timeline as described in Daniel Wing and Alan Scott's The Bread Builder) in my previous post.
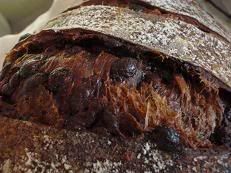
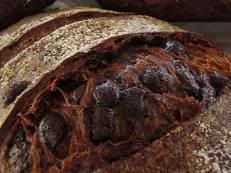
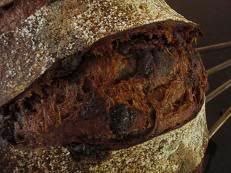
Formula for My Chocolate Sourdough
Two nights before bake day - first stage of levain build-up
- 61 g starter @ 75% hydration
- 121 g bread flour (i.e. two times starter amount for me; I do not know what ratio Chad Robertson uses.)
- 91 g water
Mix and ferment for 6 - 8 hours at 18C / 65 F (depending on your room temperature, you may need shorter or longer fermentation time for your starter to mature)
The morning before bake day - second (and final) stage of levain expansion
- 273 g starter @ 75% hydration (all from above)
- 273 g bread flour (I use one time starter amount in flour but I do not know what amount Chad Robertson uses)
- 204 g water
Mix and ferment for two hours only
Formula for final dough
- 750 g starter (all from above)
- 650 g bread flour
- 100 g cocoa powder (8.5% of total flours*verses 5% in SFBI recipe)
- 86 g honey (7% of total flours verses 15% in SFBI recipe)
- 250 g chocolate chips (21% of total flour verses 12.6% in SBFI recipe)
- 433 g water (note: with every 12 g extra water, your total dough hydration will increase by 1%. If you wish, you can increase up to 5% more hydration. See step 10 below.)
- 1 to 2 vanilla pods (optional but really worth it)
- 20 g salt
Total dough weight 2.3 kg and total dough hydration 73%
*Total flour calculation takes into account the flour in starter.
- In a big bowl, first put in water then put in the starter. Break up the starter thoroughly in the water with your hands.
- Then put in honey; scrape the seeds from the vanilla pods and put it in, and stir to combine
- Put in all the remaining ingredients except choc. chips
- Stir with a wooden spoon to combine for 1 - 2 minutes. (Take down the time when this is done, this will be your start time. Starting from this time, your dough is fermenting. From this start time to the time when the dough is divided and shaped, it will be 4 hours; i.e., bulk fermentation is 4 hours. The preferred room temperature is 18 - 21C / 65 - 70F. You may need to adjust your dough temperature by using cooler or warmer water.)
- Autolyse 20 - 30 minutes
- Sprinkle half of the choc. chips on a work surface (spreading about 30 cm by 30 cm) and stretch or pad the sticky dough thinly to cover the choc. chips. Then sprinkle the other half of choc. chips over it; press the choc. chips into the dough so they stick.
- Gather the dough from the edges to the centre and place the choc. chip dough back into the mixing bowl.
- Start the first set of stretch and folds in the bowl by pinching the edges of the dough and fold onto itself to the centre (10 - 20 times). Rotate the bowl as you go. As the dough is quite stiff, you may need both hands for the folding. The hand folding serves as mixing. I used my left hand to press down the centre, so my right hand can pinch an edge of the dough and fold it to the centre. As you stretch and fold, try not to tear the dough; only stretch as far as it can go.
- After 45 minutes, do a second set of stretch and folds. At the end of this stage, the dough will already feel silky and smooth. As the dough is quite stiff, its strength develops very fast. Be mindful that the bottom of the dough is the right side of the dough; and the right side of the dough always remain at the bottom in the bowl.
- After another 45 minutes, do a final set of stretch and folds. As the dough feels quite strong, no more folding is necessary (unless you choose to increase total dough hydration, in which case, you may need one more set of stretch and folds).
- At the end of the 4 hour bulk fermentation, divide the dough to 3 - 4 pieces as you wish. Be mindful that the bottom of the dough is the right side; sprinkle some flour on your work bench, and place the pieces right side down.
- Shape the pieces - gather the edges to the centre, flip it over (so the right side is now up) and shape it to a tight ball with both hands. (As I find the dough is quite strong, I did not think pre-shaping is necessary.)
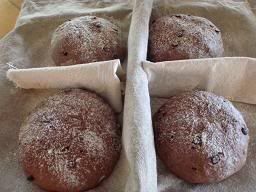
- Place the shaped boules in dusted baskets or couche, right side down and seam side up to encourage volume expansion. Cover.
- Proof for 2 hours in room temperature of 18 - 21C / 65 - 70F.
- Into the refrigerator for retardation at the end of the 2 hour proofing (minimum 8 hours; I did 18 hours).
Bake Day
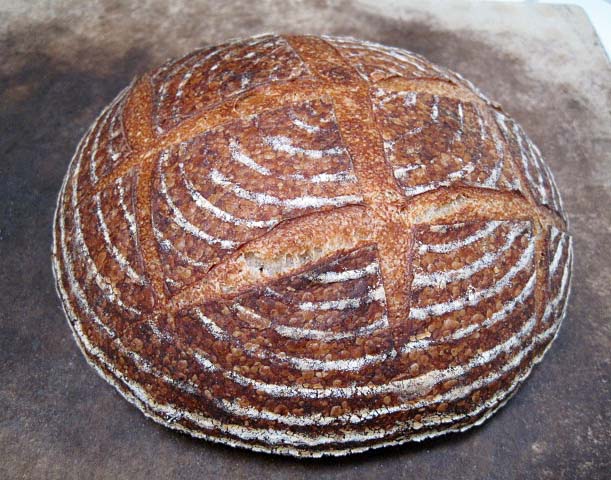
- Bake the boules cold for best result (ie, straight out of refrigerator). Just before baking, sift flour on the dough and score it. Bake at 190C / 380F (not higher due to honey) for 40 minutes. Once the dough is loaded onto the baking stone, steam the oven with no more than 1 cup of boiling hot water.
- Note: I find better result when baked cold. One boule was left at room temp while others were being baked, and it became quite puffy so when I scored, it deflated quite a lot and there was no noticeable oven spring with this bake.
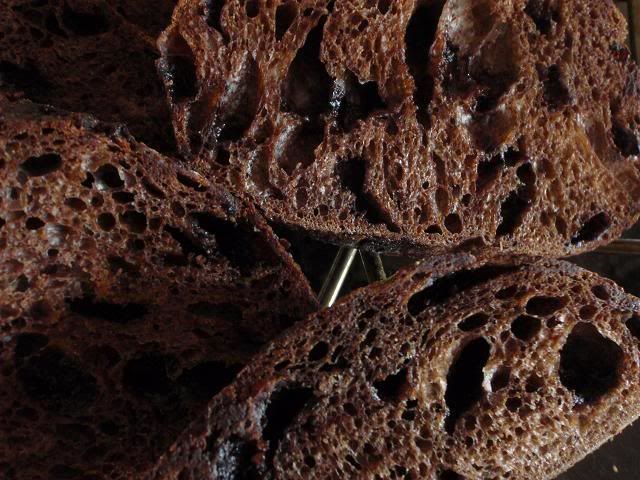
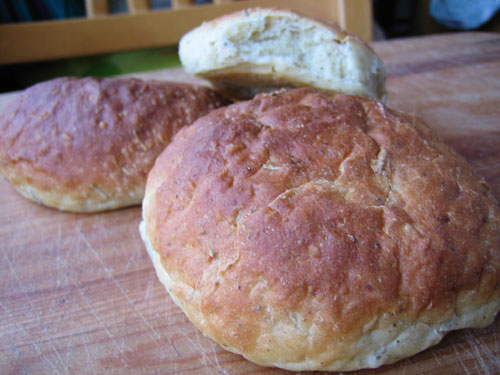
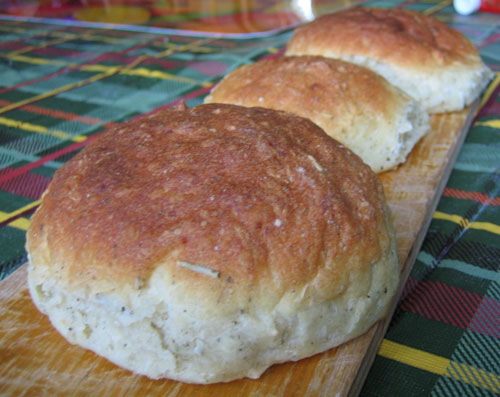
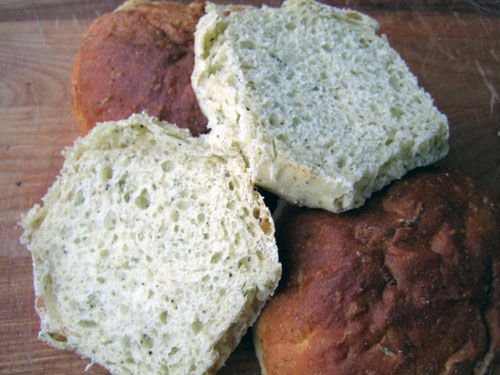
I sliced one of the boules and went down to the back yard to water the plants. When I came back up, my son said to me, Mum, the chocolate sourdough was epic. How I love his choice of words. Well, you know how to please a growing boy - make a chocolate sourdough!
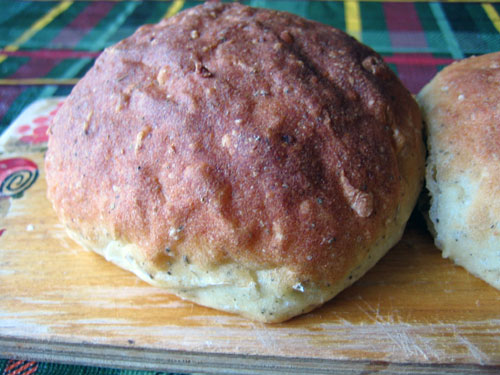
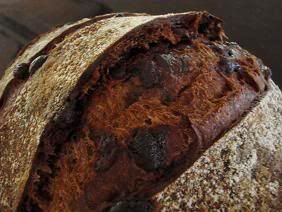
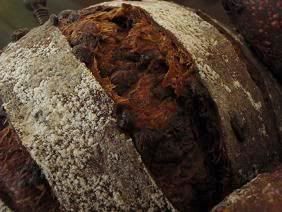
This is the first time that I made a chocolate sourdough - it is not sour at all because of the chocolate and honey, but it is very chewy. And the crust! Very crispy. The crumb? Very more-ish.
I don't imagine you find chocolate sourdough made this way in the shops - they would go bankrupt if they do - too much work (but absolutely worth the trouble for home bakers)!
Shiao-Ping


