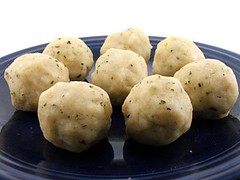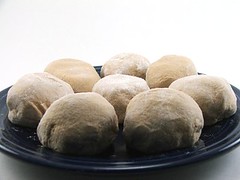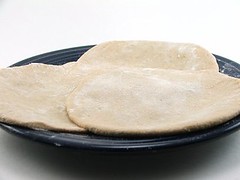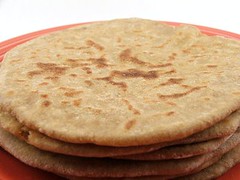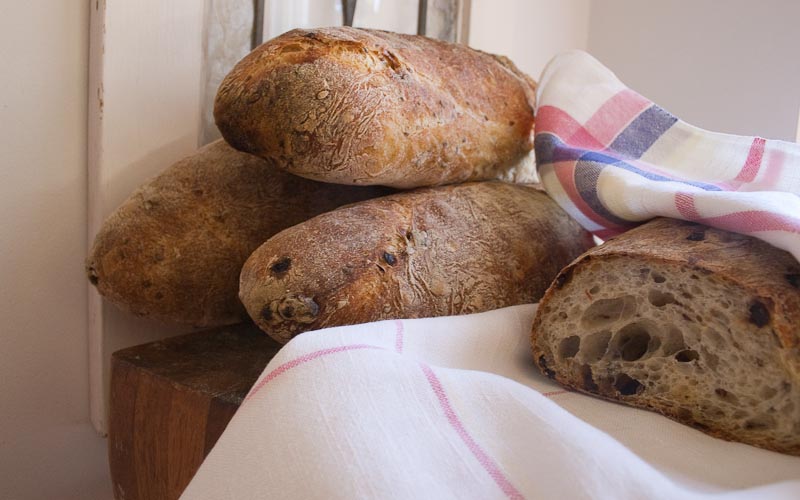
Plain Chinese Steamed Buns ot SioPao
to all baker bloggers
my new recipe

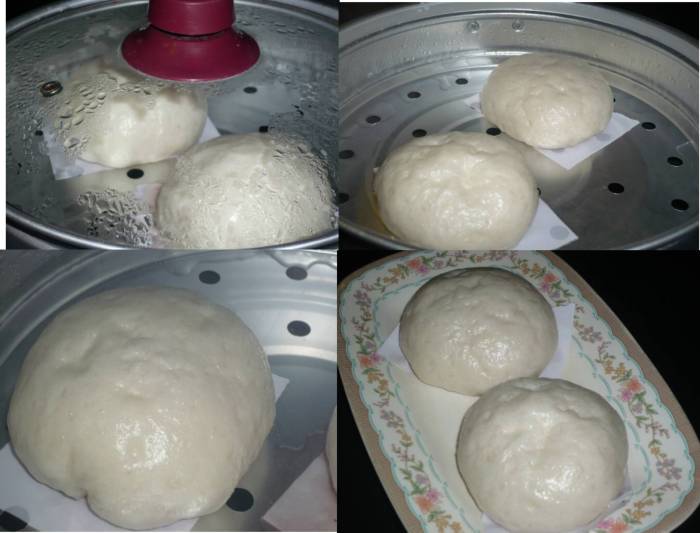
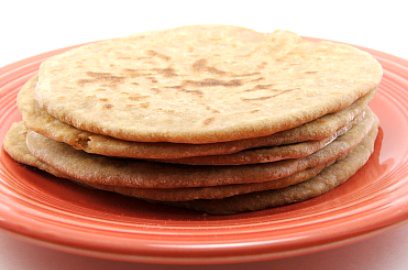
Plain Chinese Steamed Buns
(Makes 12 buns)
Sponge Starter:
1/3 cup lukewarm water
1/3 cup all-purpose flour
1 tablespoon active dry yeast
2 teaspoon sugar
Dough:
1 1/2 cups all-purpose flour (for lighter texture use 3/4 cup all-purpose flour plus 3/4 cup cake flour)
2 teaspoons baking powder, divided
1/2 teaspoon salt
2 1/2 tablespoons sugar
1 tablespoon of vegetable oil (or melted lard or vegetable shortening)
Enough lukewarm water to create a smooth dough, approximately 1/2 cup
You'll also need:
A steamer
12 3"x3" waxed paper square
Directions:
· In a large mixing bowl, mix together all the sponge ingredients and let it stand about 30 minutes (up to 2 hours)
· Once the sponge is ready (it should puff up and have holes on the surface), add the flour, 1 teaspoon of baking powder, salt, sugar, and oil to the sponge bowl.
· While your dominant hand is stirring the dough, add lukewarm water to the mixture a little bit at a time with your non-dominant hand. (Do I have to be this specific about the hand thing?) The moment you feel you can get a smooth dough that wipes the bowl almost clean, stop adding water.
· Knead the dough right in the bowl, if you don't want to clean your kitchen counter afterwards. But if you need room to groove, feel free to dump the dough onto a large surface and let go of all your kneading inhibitions.
· Once you have a smooth, satiny dough (after about 3-4 minutes), put the dough back into the mixing bowl, if you took it out, and cover tightly with a piece of plastic wrap. Let it rise for 3 hours in a warm spot.
· You have three hours to get ready, so prepare your steamer and make the waxed paper squares.
· After three hours, sprinkle the remaining 1 teaspoon of baking powder all over the surface of the dough and knead it in, lightly but well.
· Roll the dough into a long log and cut into 12 equal pieces. Shape each piece into a ball by pinching and stretching. Place each dough ball, seams-side down, on a piece of waxed paper.
· Cover the buns with a kitchen towel and let them rise once more for 30 minutes to an hour. You know the buns are ready when they have puffed up and the tops look smooth and taut.
· Gently lower the buns into the steamer, positioning them in such a way that allows for expansion. They should not touch each other or the sides of the steamer.
· Steam the buns for 10 minutes. Remove the buns from the steamer and let them cool under a kitchen towel.
Tips:
· Make sure you don't over-hydrate your dough. It's better to err on adding too little water as you can always add more. Adding too much water will pretty much ruin the whole thing. You could try to salvage the dough by adding more flour, but that would just cause the dough to be tough. It's not possible to prescribe an exact amount of water as this has to do with the particular brand(s) of your flour and the moisture in the air on the day you make these buns.
· Make sure the water is lukewarm, about 85 degrees F.
· Make sure the yeast isn't too old.
· Make sure the piece of plastic wrap covers the entire opening of the dough bowl. Exposure to air will cause the dough to develop a tough skin on the surface.
· Make sure you leave the dough to rise in a warm spot.
· After the first rise, work the baking powder into the dough thoroughly. This will help the finished buns to have a smooth surface.
· Make sure the kitchen towel covers all the buns during the second rising.
· When you lower the buns into the steamer, grab onto the corners of the waxed paper squares, not directly on the buns as you will deflate them.
· Do not steam over high heat. Make sure the water is gently boiling over medium heat when the buns go in. Make sure the bottoms of the buns do not touch the water.
· Don't let the moisture collected on the lid of your steamer drop on the buns.
Answers:
· Yes, one tablespoon of yeast. It may seem like a lot of yeast per roughly a total of 2 cups of flour. However, when you start the process with a sponge starter, the fermentation has already started before you mix the dough. This is different from the no-sponge method wherein the dry yeast is added to the dough at the same time as the other ingredients. A sponge starter is a good way to ensure reliable and quick rising.
· Yes, these buns freeze beautifully.
yes they can be filled..
vincent


